Six Stitch Crochet Cable ~ In the Round

How to do a Six Stitch Crochet Cable
Cables are gorgeous design elements that add a bit of elegance to any project. Though they seem very complex, and can be slightly intimidating to the beginning crocheter, they’re actually not nearly as hard as they look. Beware though! Cables are very addictive….once you learn, you’ll be absolutely hooked!
Check out this photo tutorial on how to do the Six Stitch Crochet Cable when working in the round.
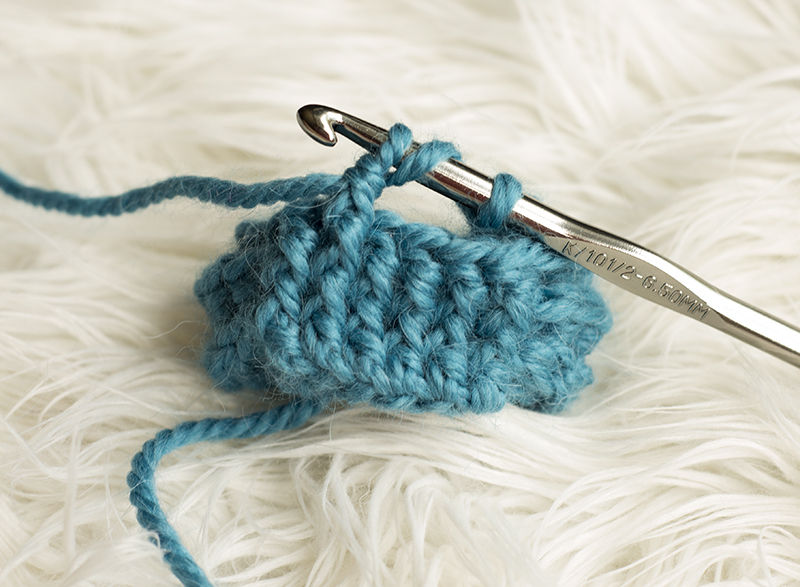
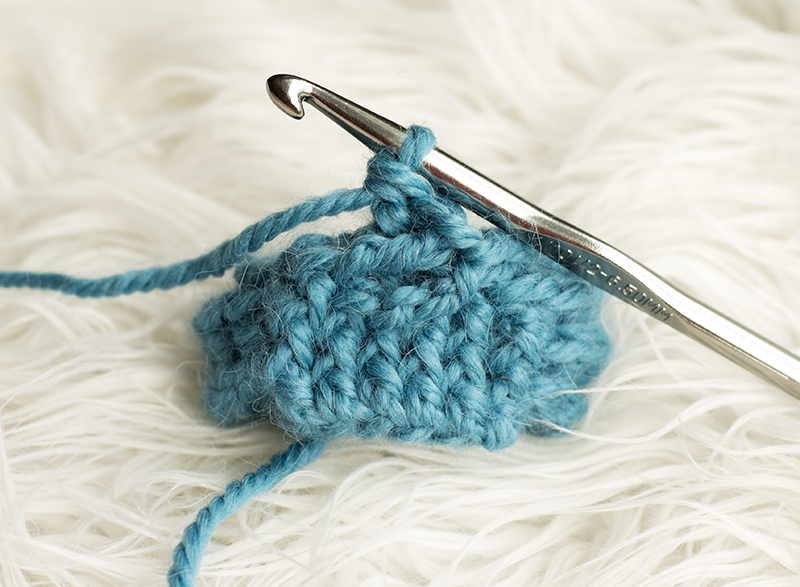
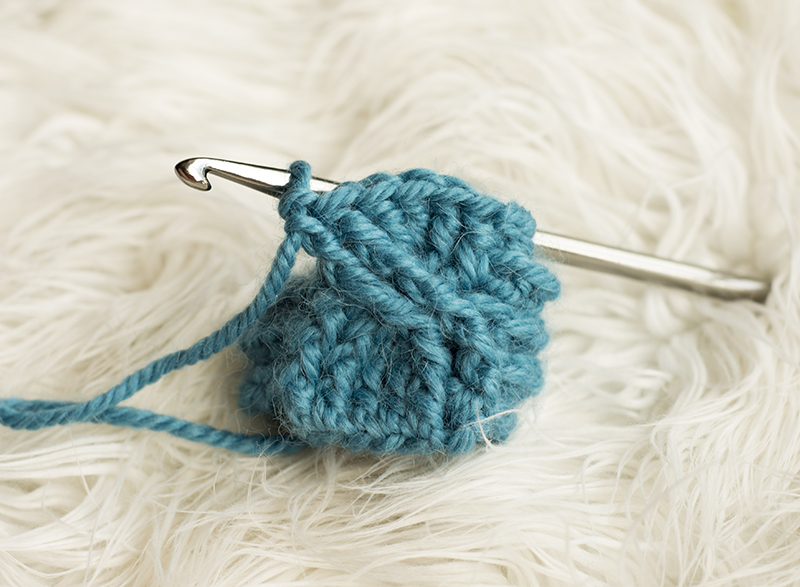
Most cable patterns start with a plain Double Crochet base.
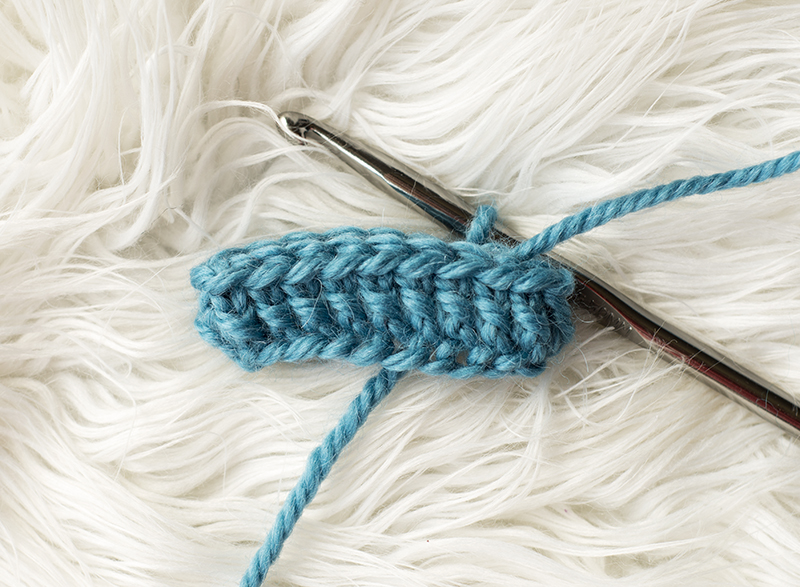
Double Crochet Base
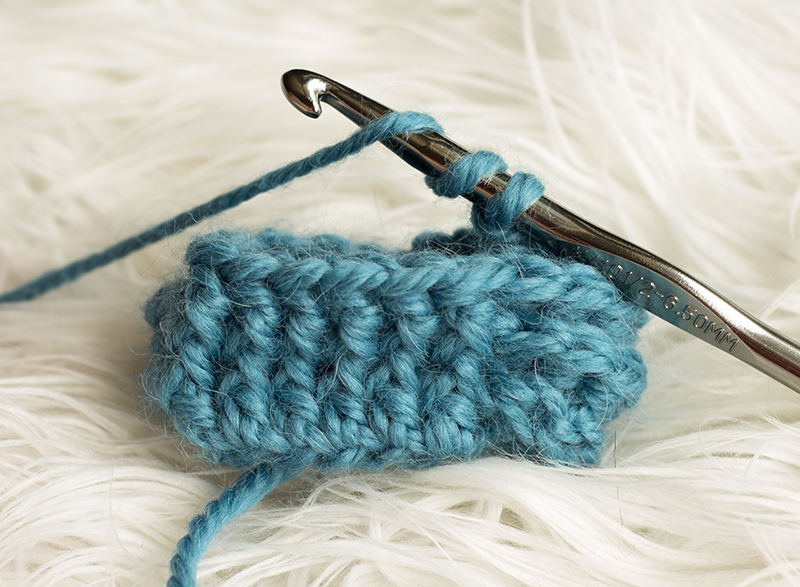
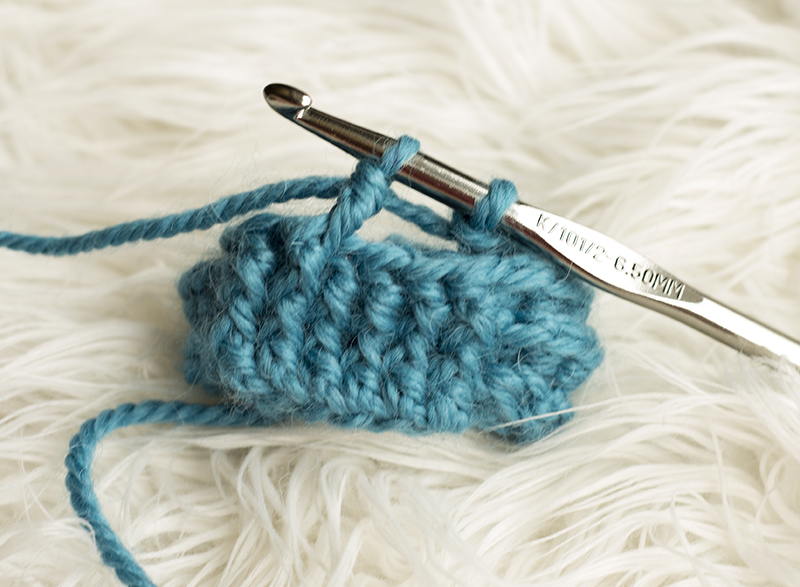
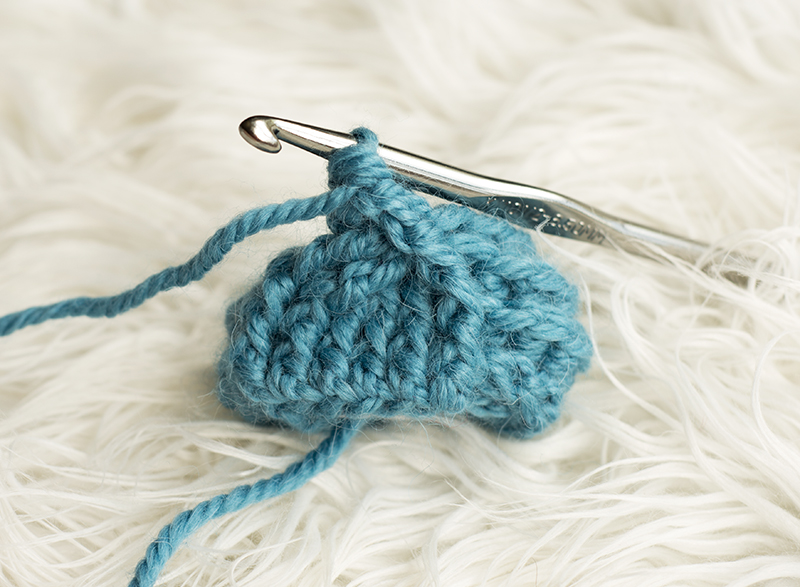
The next section of the pattern usually has you creating the foundation for your cable by working the six stitches in a Front Post Double Crochet Stitch (I have a FPDC tutorial here). These stitches are usually surrounded by a different type of stitch to help set them off more. In this case, we’re surrounding the six FPDC stitches with Back Post Double Crochet Stitches (I have a BPDC tutorial here).

Six Front Post Double Crochet Stitches Surrounded by Back Post Double Crochet Stitches
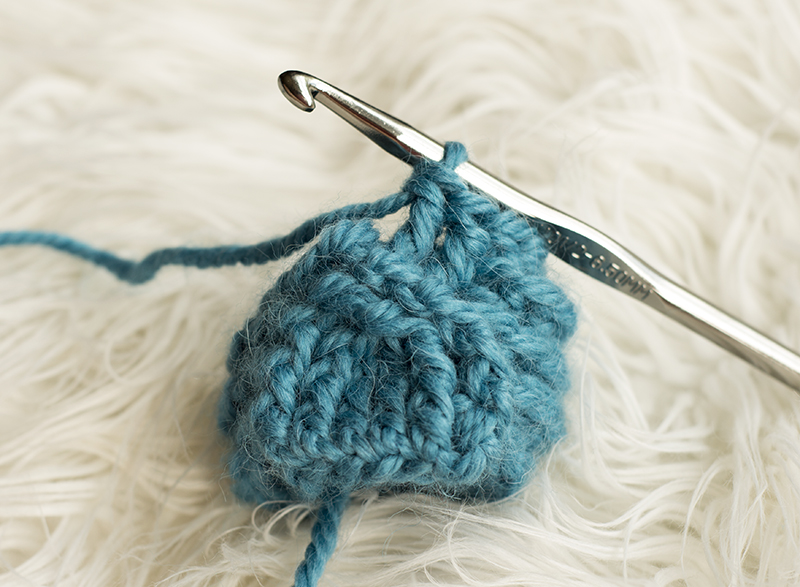
Most patterns will refer to a “Cable Sequence” for you to complete at a certain point within the cable pattern. In my six stitch cable patterns, the cable sequence is:
Skip the next 4 sts,
FPTR around the 5th stitch,
FPTR around the 6th stitch,
FPDC around the 3rd and 4th sts respectively behind the FPTR sts you just made,
then FPTR around the 1st stitch,
FPTR around the 2nd stitch.
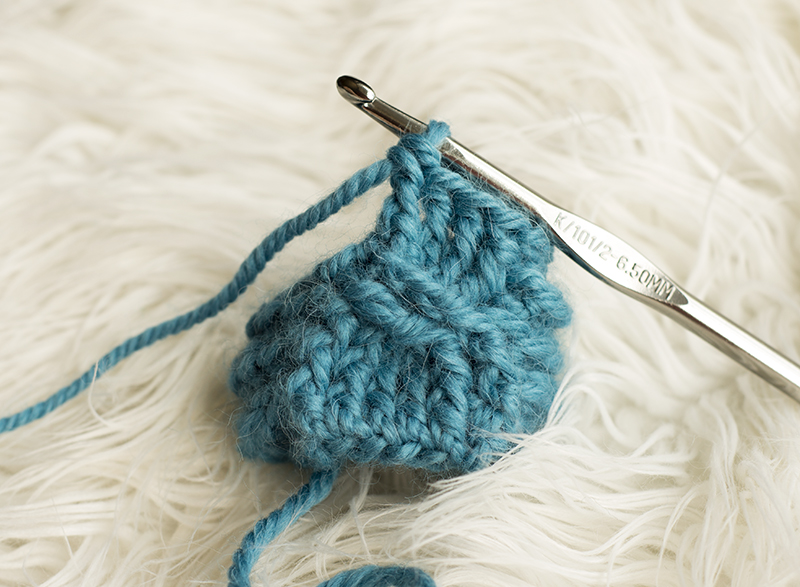
Start the cable sequence by doing one FPTR stitch around the 5th stitch.
Start your FPTR stitch by doing two yarn overs.
Start your Cable Sequence with a FPTR which starts with two yarn overs.
Then, insert your hook around the post of the 5th stitch. Your hook should be in front of your work as shown below.
Insert hook through the front post of the 5th stitch.
Next, yarn over and draw a loop through. You should now have 4 loop on your crochet hook.
Yarn over and draw a loop through post of stitch.
Continue your FPTR stitch with a yarn over and pull loop through first two loops on hook.
Yarn over and pull loop through two loops on hook.
Yarn over again, and pull through next two loops on hook.
Yarn over, pull through next two loops on hook.
Finish your first FPTR stitch by doing a yarn over and pull through the last two loops on the hook.
Yarn over and pull through last two loops on hook.
Continue with your cable sequence by creating a second FPTR stitch around the post of the 6th stitch.
Create a second FPTR stitch around the post of the 6th stitch.
You’re now going to work either a Front Post Double Crochet Stitch or a Double Crochet stitch (reference your pattern for which type of stitch you’re working) around the 3rd stitch of the cable sequence. So, you’re going back to sts that you previously skipped. Work this stitch behind the two FPTR stitches you just created.

Work a Front Post Double Crochet Stitch around the 3rd stitch in the cable sequence.
As shown in the photo below, the Double Crochet stitch you just worked is hardly visible behind the two FPTR stitches.

Completed FPDC stitch around 3rd stitch in sequence.
Then, work another Front Post Double Crochet Stitch (or Double Crochet Stitch if that’s what your pattern calls for) around the 4th stitch in sequence.
FPDC stitch worked around the 4th stitch in sequence.
Next, work one FPTR stitch around the post of the first stitch in sequence. Work this stitch in front of all the other stitches.
Work FPTR stitch around 1st stitch in sequence.
Then, work a second FPTR stitch into the 2nd stitch in sequence.
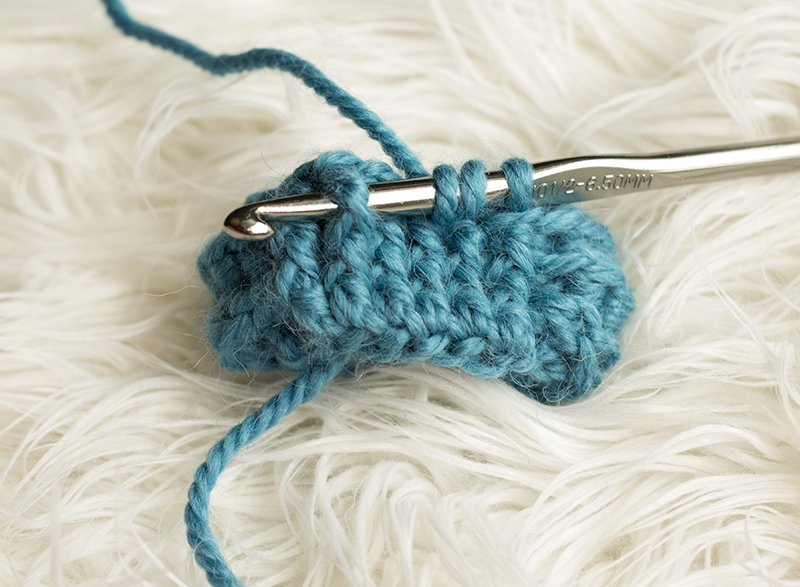
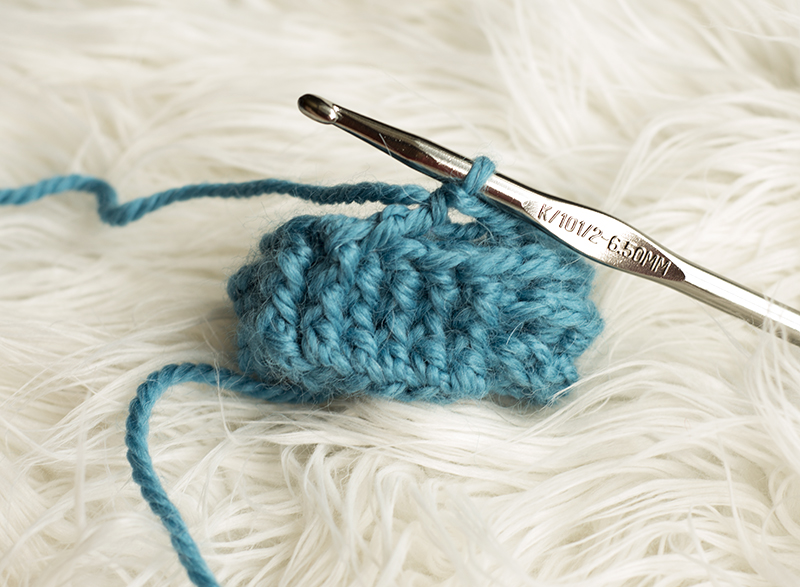
This completes the cable sequence, however your project will look a little strange at this point.

Work FPTR stitch around 2nd stitch in sequence.
Don’t worry! Things will start to look right again as you work the next round.
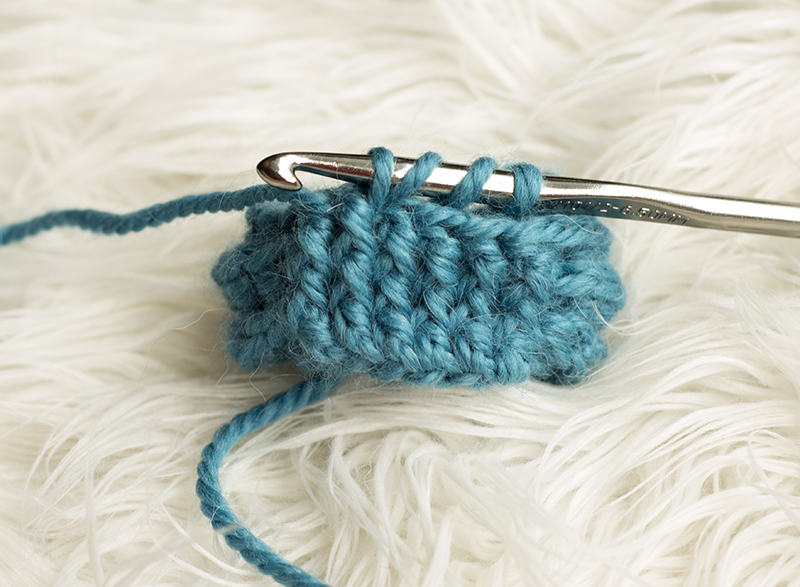
You’ll be working a Front Post Double Crochet Stitch around each stitch that you just created during the cable sequence.
Start with the very top of the first two FPTR stitches you created during the cable sequence.
FPDC around the top of the first two FPTR sts you created during the cable sequence.
Then, FPDC around the FPDC sts (3rd and 4th stitch) you worked during the cable sequence.
FPDC around FPDC stitches you worked during cable sequence.
Last, FPDC around the last two FPTR sts that you created during the cable sequence.
FPDC around the last two FPTR sts you created during cable sequence
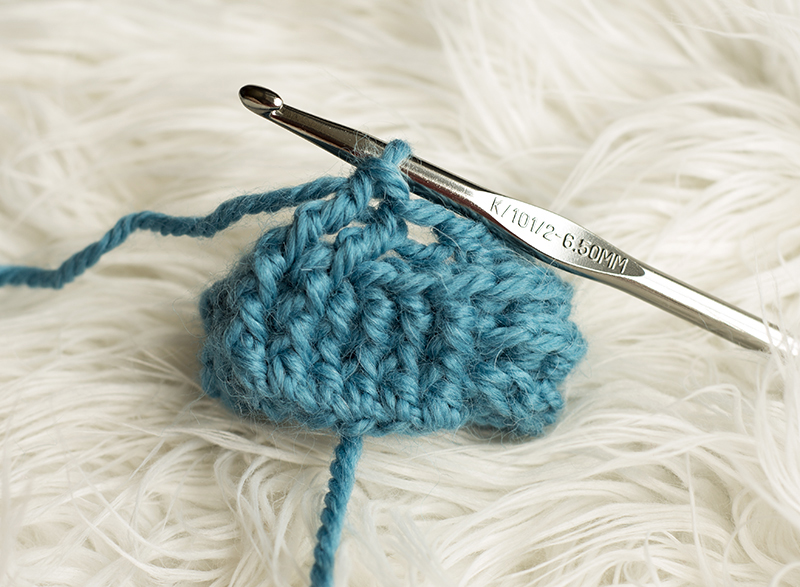
After you work another round, your project will continue to look more and more like a cable.
Repeat this sequence to create multiple twists in your cable.

Project looks better the more twists and rounds you add.
Put your skills to use! Check out these patterns featuring a six stitch cable:

Petite Cabled Skirt Crochet Pattern
[activecampaign form=13]