How to Make a Slip Knot
How to Make a Slip Knot
Slip knots are simple but oh so useful knots.
There’s a plethora of possibilities for these little knots.
Here’s 4 handy ways I’ve used a slip knot in the past:
- Knitting
- Tying balloons onto children’s wrists.
- Crochet
- Tying bugs onto children’s wrists.
A slip knot has the ability to “slip” into smaller or larger sizes. Pull on one side of the knot and it gets small and snug. Pull on the other side, and it loosens up easily and without fuss. That’s what makes it such a great option for securing various things *ahem* to kids’ wrists. It’s also the absolute beginning of pretty much every knitting or crochet project you’ll find.
For the purposes of this site, you’re probably visiting to learn how to make a slip knot for either knitting or crochet.
How to tie a slip knot
Step One: Prep your yarn or material.
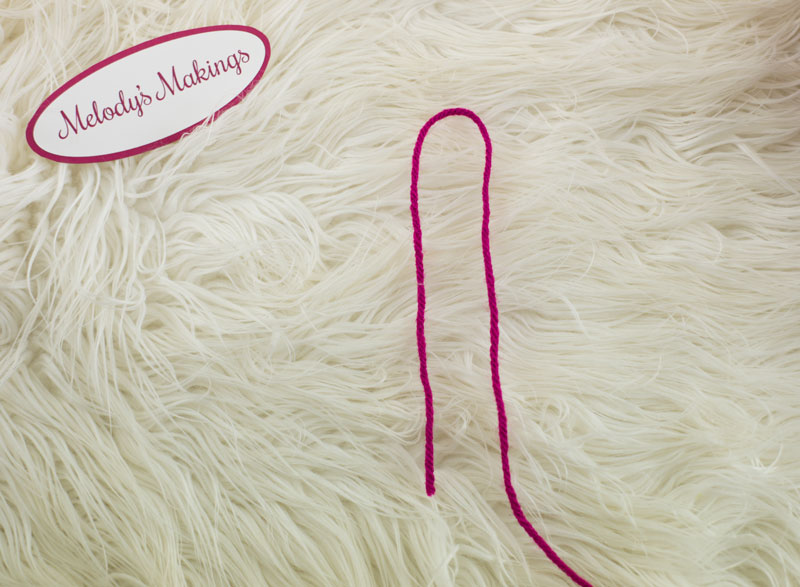
How to Tie a Slip Knot Step One
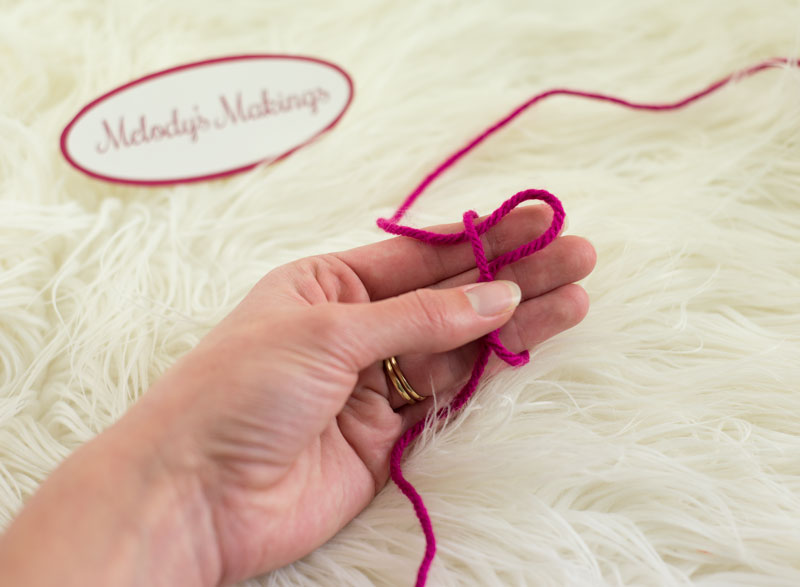
Step Two: Fold the yarn over your fingers with working end in back as shown.
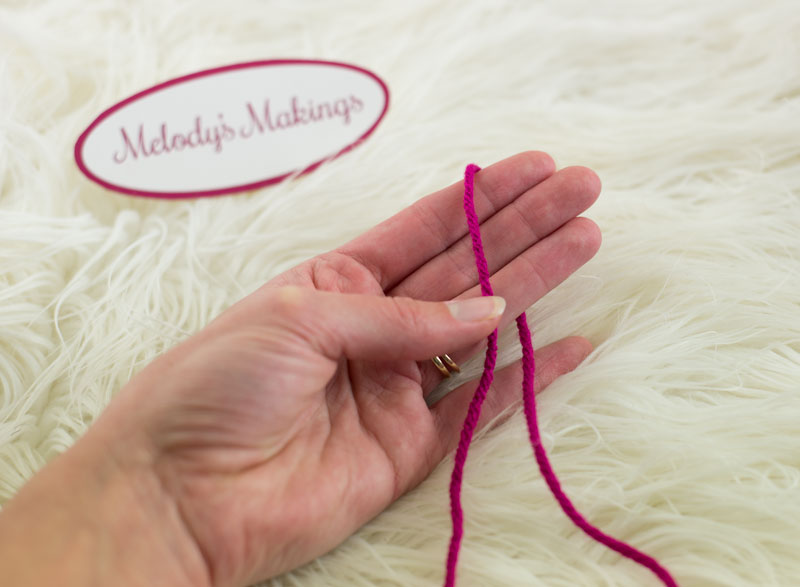
How to Tie a Slip Knot Step Two
Step Three: Wrap the working end up and across the other end so you have an X on your fingers.
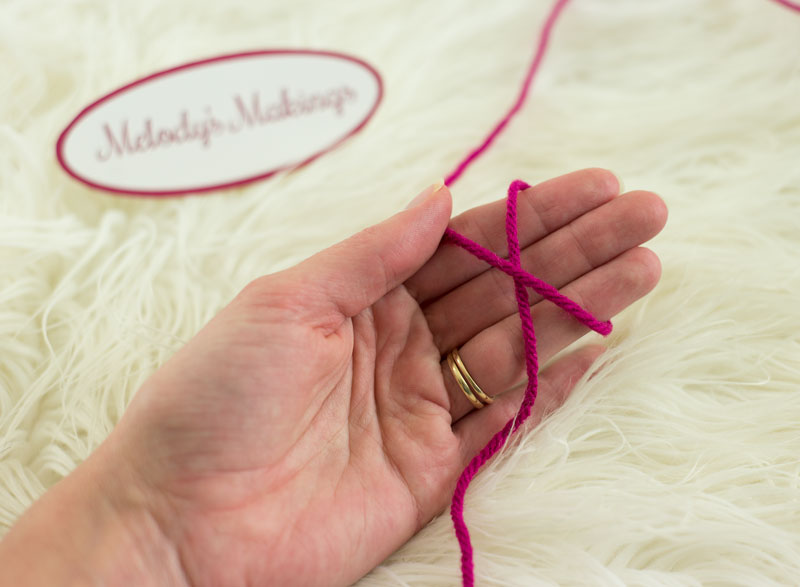
How to Tie a Slip Knot Step Three
Step Four: Push a loop of the working end of the yarn underneath the tail end of the yarn.
How to Tie a Slip Knot Step Four
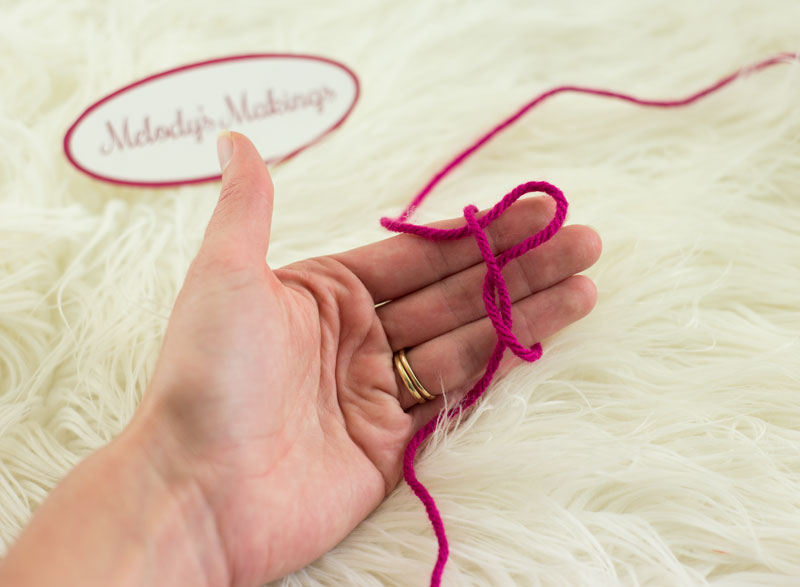
How to Tie a Slip Knot Step Four
Step Five: Remove loops from fingers.
How to Tie a Slip Knot Step Five
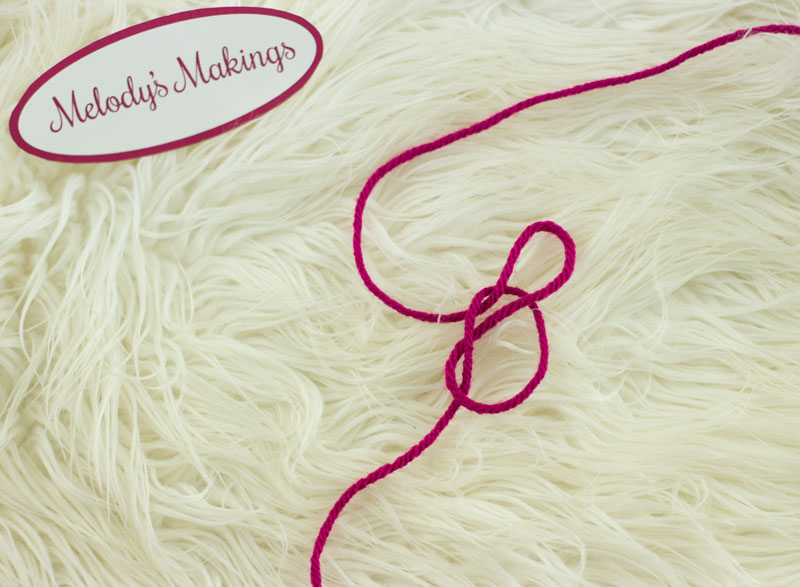
Step Six: Pull on yarn end and working end while holding onto loop to tighten the knot.
How to Tie a Slip Knot Step Six
Step Seven: Pull on loop to loosen.
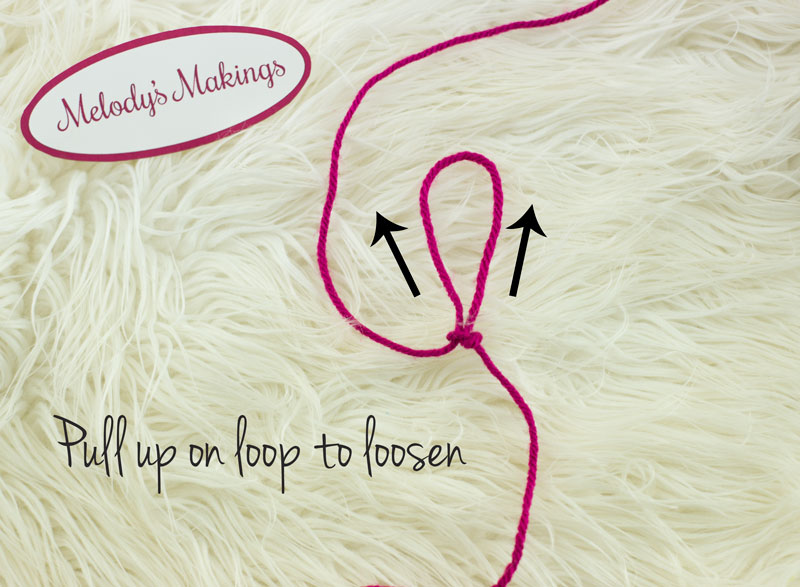
How to Make a Slip Knot Step Seven
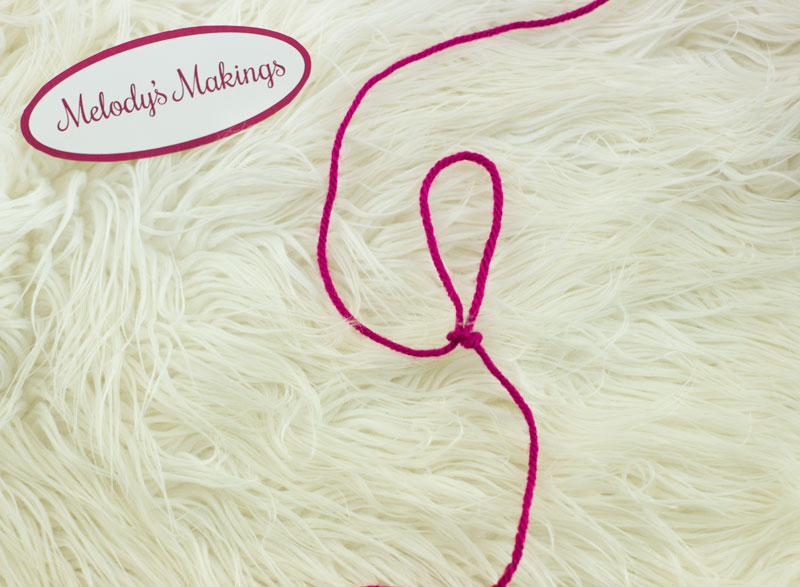
Step Eight: Pull on working end to tighten and make loop smaller.
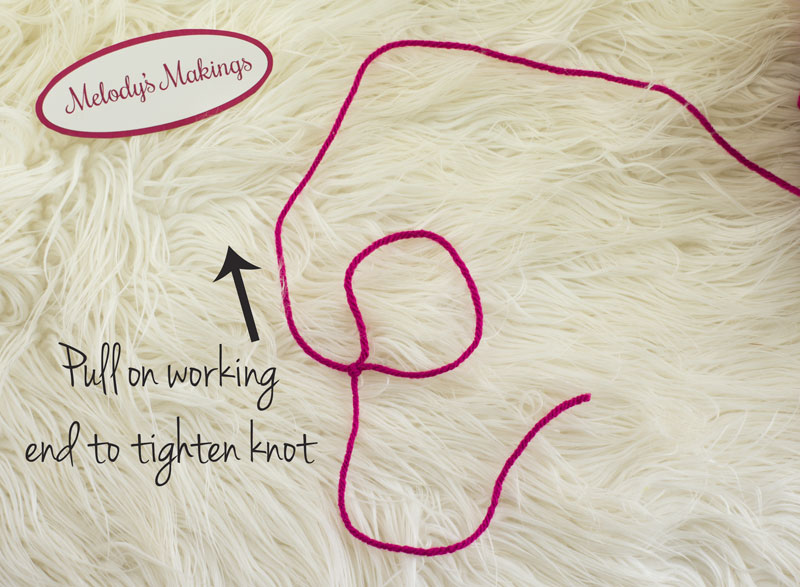
How to Tie Slip Knot Step Eight
How to Tie a Slip Knot Step Seven