How to Add a Knit Edging to Your Project
Let’s face it. Sometimes some of the most beautiful knit stitches, like the Stockinette Stitch, simply don’t have the most beautiful edges. Often times a pattern will accommodate for those imperfect edges, but every once in a while you might end up with something a bit rough. Adding a knit edging to your project can help give it that more finished or polished look….and it’s actually quite quick and easy!
Check out this step-by-step photo tutorial on how to add a clean edging to your knitting projects.
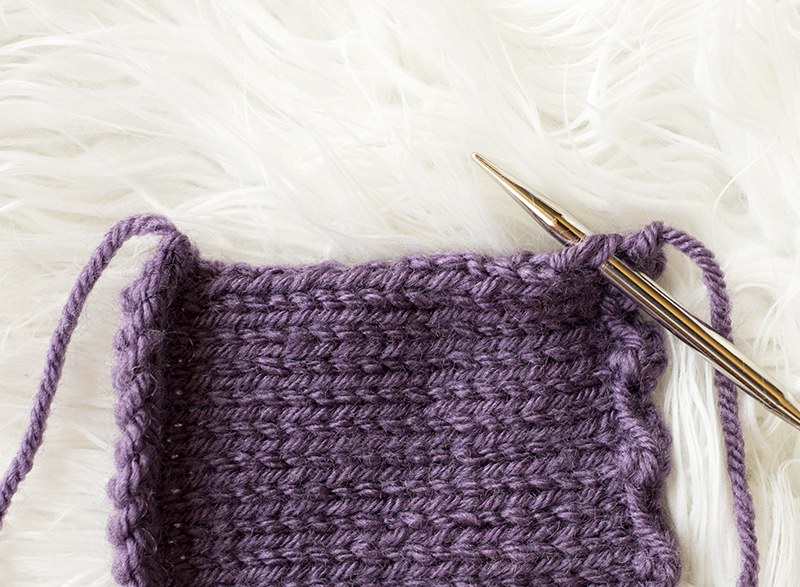
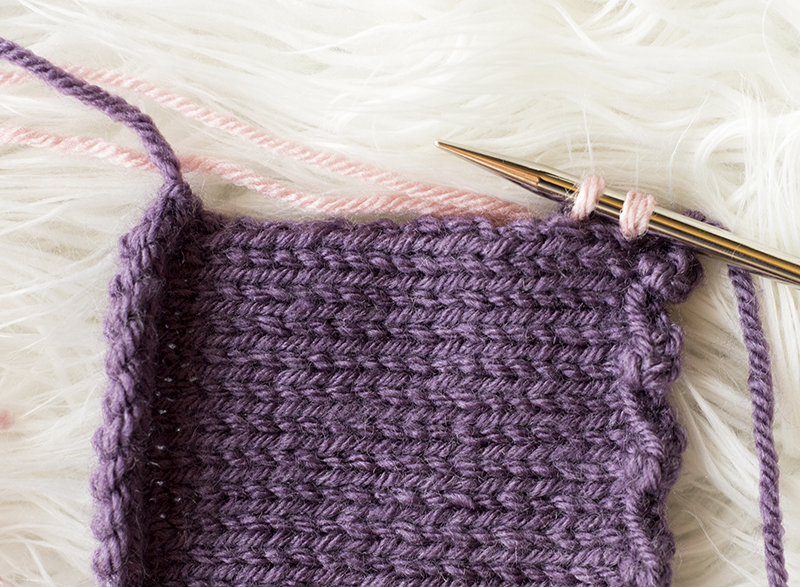
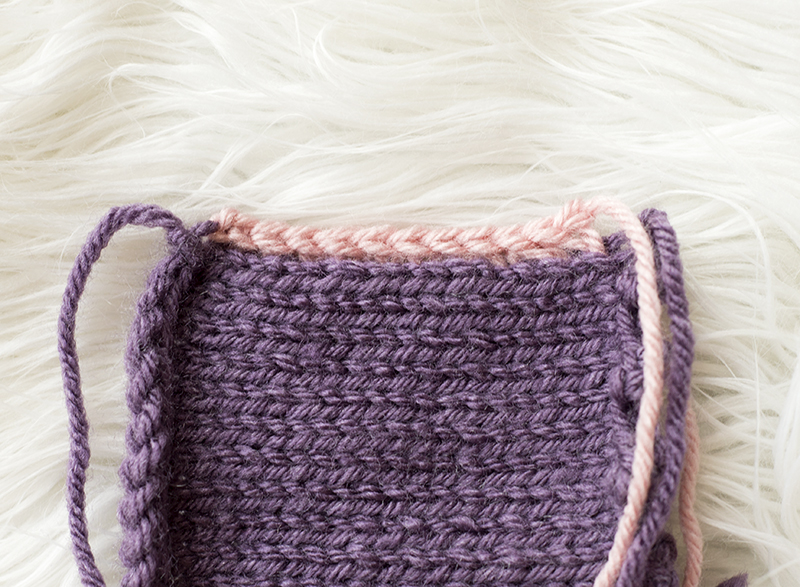
First, find the edge of your project that needs a little sprucing up. I’m using a plain Stockinette Stitch swatch for my sample project.
Next, insert your right needle (from the front side or knit side in this case) through the stitch on the outermost edge.
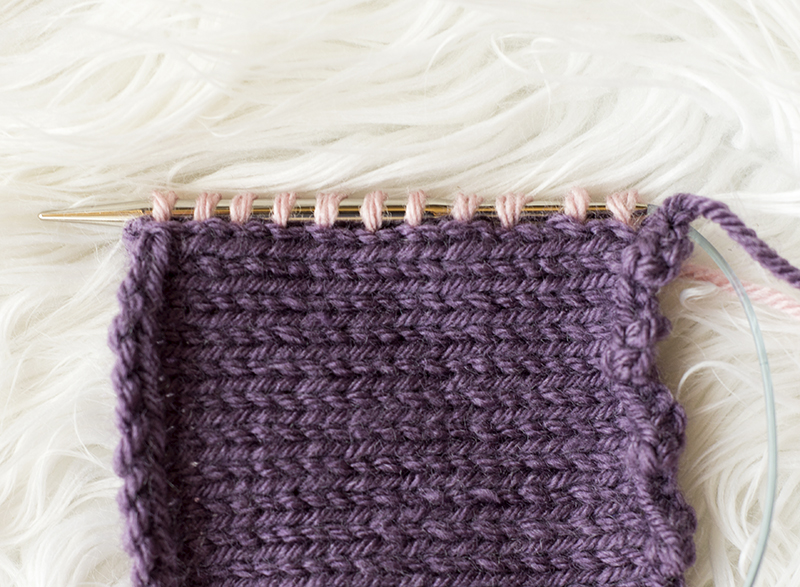
Wrap your edging yarn around your needle one time, and pull a loop through your project and onto your right needle.
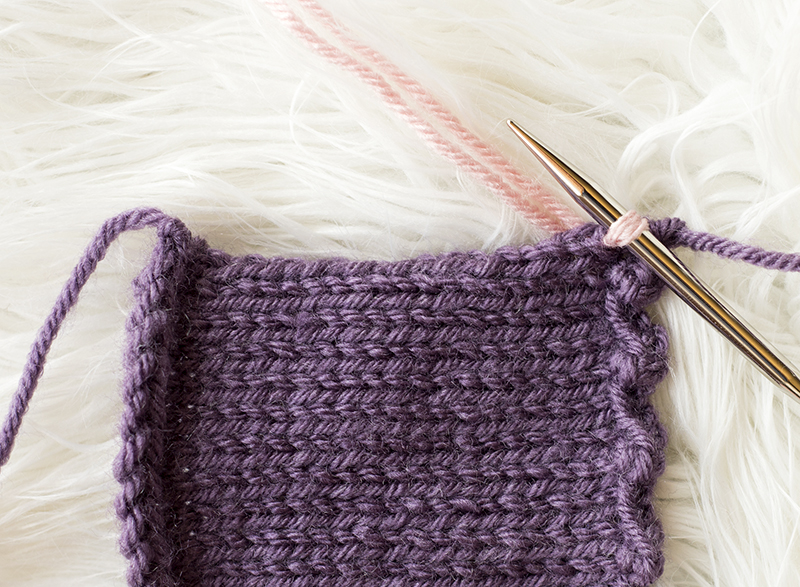
Insert needle through next stitch.
Repeat the process of pulling up a loop of edging yarn.
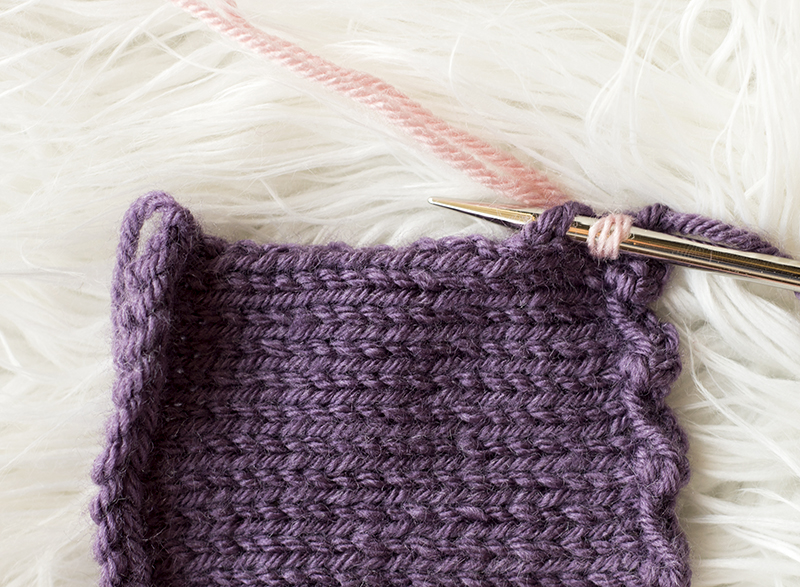
Repeat process all the way across project edge.
This is what your project should look like from the back at this point:
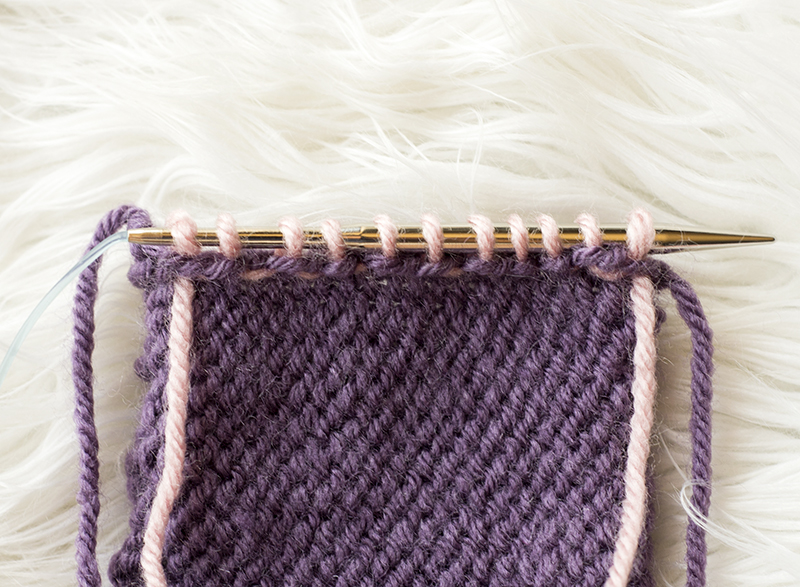
Turn your work so back is facing and stitches are now on left needle. Bind off all stitches as if to purl.
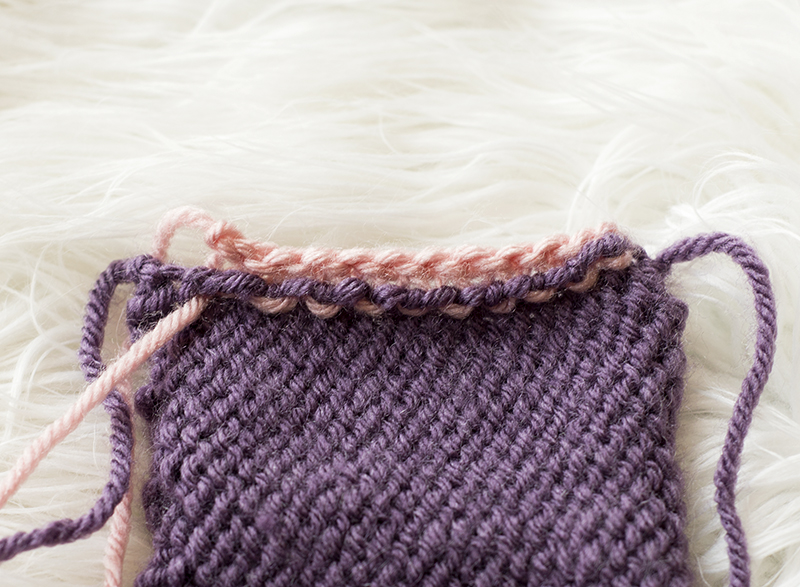
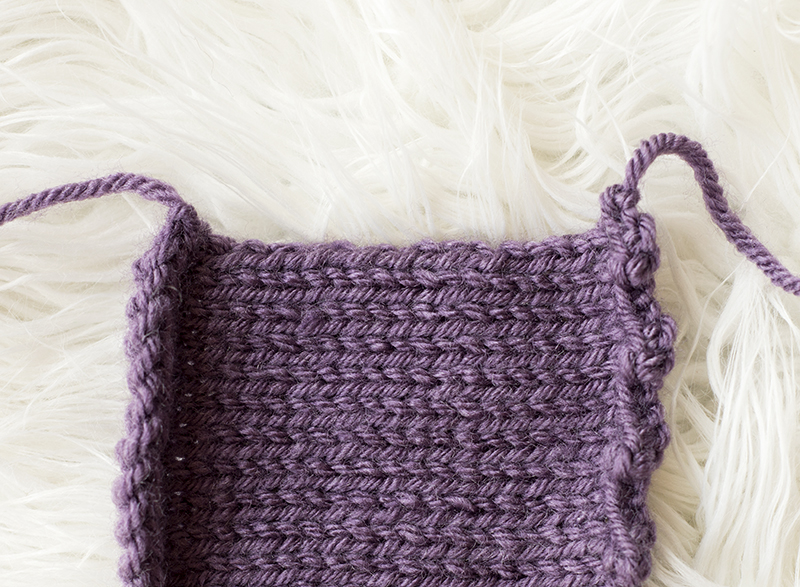
You should now have a beautiful knit edging.

Want to put your new skills to practice? Check out the Ruffle Shirt Pattern to get started right away!
[activecampaign form=13]