How to Dye Yarn with Kool-Aid
I’m currently working on my next Mystery Create-A-Long design, and I decided to get a little creative with it! I needed some wool roving yarn for this project, and though any color could work, this project was for my sweet 19 month old Netherlee….so I really wanted something adorable. Which is when a rainbow combination jumped to mind.
I’d heard of Kool-Aid yarn dyeing a few times in the past, but had never looked into doing it myself. Now seemed like the right time to try something new and create some bright, bold colors for Netherlee’s Mystery Project. I sent my husband to the store to buy some Kool-Aid and I dug out my roving yarn!

Roving Yarn Ready to Be Dyed
When dyeing any type of yarn or fiber, you want to make sure it’s in a natural state to start with….or that it’s never been dyed before. So go for the off-white or ivory colored stuff so you know you’ve got a fresh base to work with.
Because it looked so super easy, I decided to use the microwave Kool-Aid dyeing method. You can also dye on the stove, but I’m no expert on how to get that done. My friend, Claudia, found this awesome Ravelry Group all about Kool-Aid dyeing. If you’re looking for more resources on the subject, you should definitely check out joining that group.
When I was looking for help getting started, I found these instructions online.
They pretty much walk you right through the whole process, but here’s my version:
1. When buying your Kool-Aid packet, look at the color liquid shown in the Kool-Aid Man’s cup….I may have started off by buying 3 or 4 red flavors just because I didn’t know this quick tip, hehe.
2. To get the best color vibrancy out of your Kool-Aid packet, dyeing just a small amount at one time (or using multiple packets) works best. I didn’t need a ton of yarn for my project, so I cut 4 yard sections of my bulky roving yarn to dye at one time. I thought the color on mine came out nice and bright, so that’s the amount I’ll continue to use in the future. 1 packet per 4 yards of bulky yarn…..If you’re using thinner yarn, you should be able to stretch it much farther.
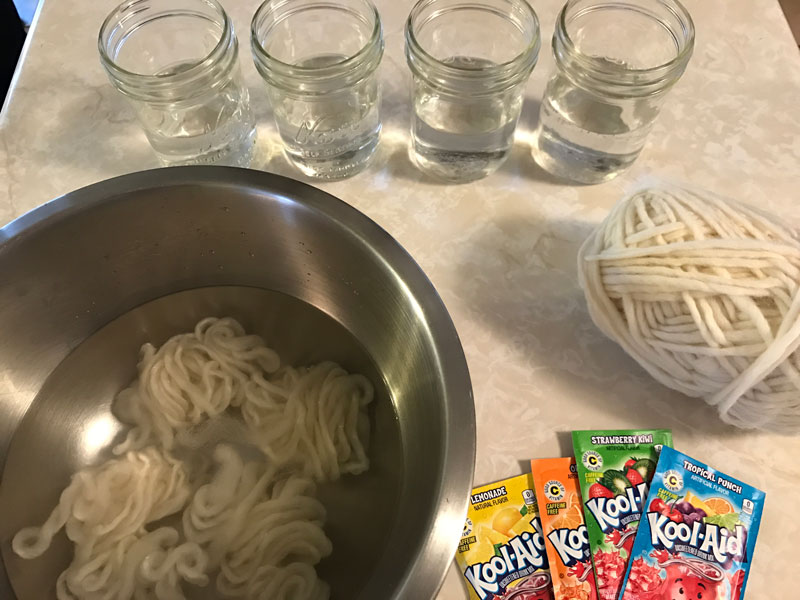
Yarn Soaking in Prep. to Dye
3. Once you’ve got your yarn made up into 4 yard balls (I easily counted out my 4 yard sections by wrapping my yarn around 4 fingers 25 times), put them into a bowl of cool water to soak for at least an hour.
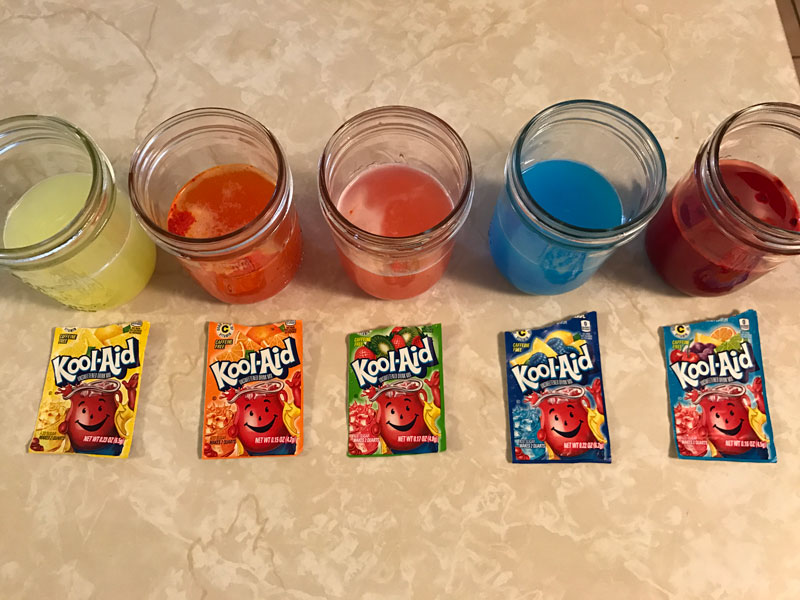
Kool Aid Packet Mixed with 8 Ounces of Water
4. While your yarn is soaking, you can mix up your Kool-Aid packets and prep. them for dyeing. Simply grab a container with 8 ounces of water, and mix a full packet in.
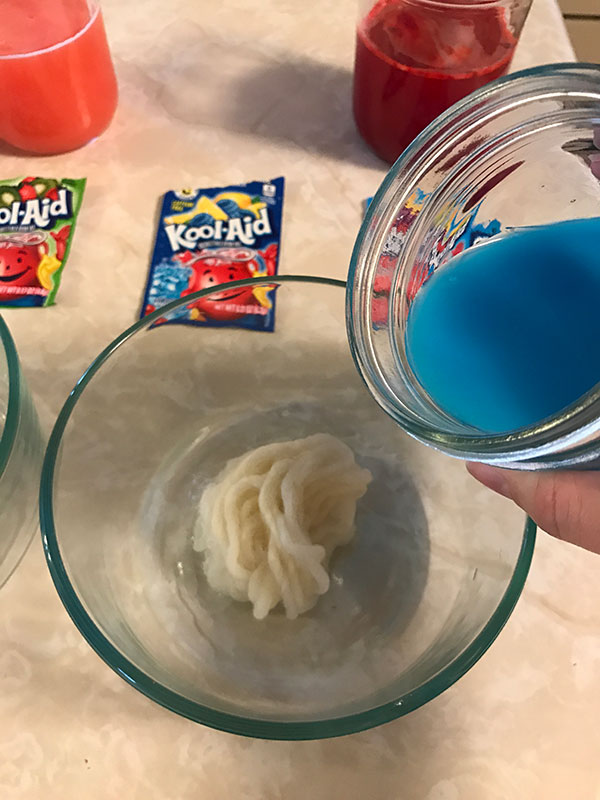
Place Soaked Yarn in Empty, Microwave Safe Container
5. Grab a new, microwave safe, container with a lid (or stick a plate on top) and remove one of your balls of yarn from the water. Don’t wring it out or anything, just place it in the bottom of the empty container.
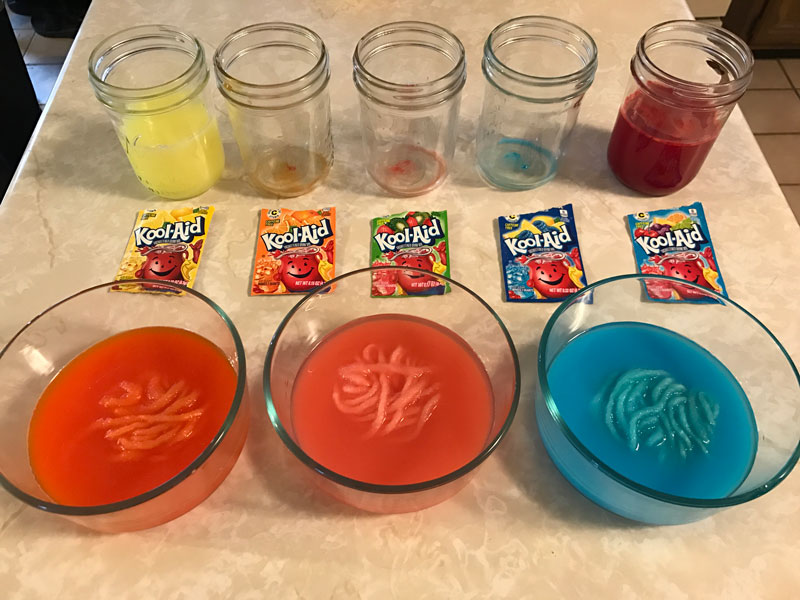
Pour Kool-Aid over Soaked Yarn
6. Pour your Kool-Aid mixture over your ball of yarn.
7. Put it in the microwave (with a lid on – these things explode towards the end!) for 2 minutes.
8. Let it sit and cool for 10 minutes.
Repeat steps 7 & 8 until the water in the bottom of the bowl runs clear.
9. Allow yarn to cool completely and rinse with cool water.
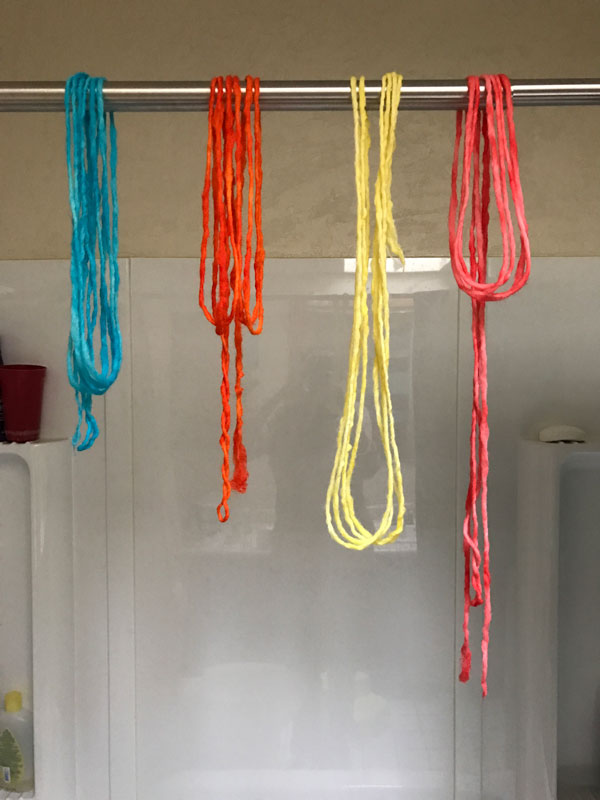
Hang yarn to dry
10. Hang to dry….shower curtains work great for this – just make sure you have a no-rust kind!
If you’d like to give it a go for a super fun project, be sure to check out my upcoming Netherlee Mystery Create-A-Long! This project lends itself perfectly to creating a little fun with dye.
[activecampaign form=13]

Question… how much yarn, total, do we need to dye? Here you mention 4 yards in 4 colors.. is that what we need?
Hope I am not confusing you.
Hey Pam! For the MCAL, a materials list will be coming out next week. Keep your eyes open for that as it will help you decide how much yarn to dye 🙂 If working on a personal project, then reference the yarn requirements listed in your pattern.
Just wondering how the color holds once the yarn/item is washed? Is there fading? Also does the color come off on fingers/needles while knitting?
The color has held fine in my experience 🙂 There are different ways to go about it, but in this method it’s all about getting it warm enough to actually soak up the dye. Sometimes people use a vinegar to help seal in the color as well.