How to Make Your Own Ruffle Yarn
Have you ever found yourself wishing for a yarn that was super unique? Something that only you would have access to and that would make your project truly one of a kind? Check out this tutorial on how to make your own fabric ruffle yarn! Projects created with this beautiful yarn convey so much love – you did all the work from the absolute start to the finish, and now you have a gorgeous, one-of-a-kind gift for someone in your life (or for yourself! Go for it….you deserve a super gorgeous ruffly scarf – I give you permission to put yourself first for once!).
Check out this video to take a peek at what the yarn looks like in action, and for a how-to on knitting and crocheting with ruffled yarn.
DIY Ruffle Yarn
***Something that MUST be said at the beginning of this tutorial***
If you are very particular about perfection in your work, then I applaud you! I too can get pretty caught up in having everything perfect from time to time….that being said, throw all your perfectionist tendencies right out the window before starting this project. You could drive yourself right into a mental hospital for absolutely nothing if you go into this project with the goal of your yarn coming out perfectly….and believe me….it’s going to work up just as beautifully whether your fabric has wrinkles in it or not….or whether your lines are sewn perfectly straight….or whether your holes are spaced perfectly apart….you get the point 🙂
What you need:
Fabric (44″ or 112cm from selvage to selvage)
Refer to the pattern you are working with to figure out how much fabric you need. The most common fabrics are approx. 44″ or 112 cm in length from selvage (edge) to selvage. You are going to be cutting this fabric into 4.5″ (11.5cm) strips. In order to figure out how much fabric you need, take the number of yards the pattern calls for, multiply that number by 36 and then divide the total by 44. This is the number of 4.5″ strips you are going to cut to make enough ruffle yarn for your project.
Y (number of yards pattern calls for) x 36 = T
T/44 = N (number of strips needed)
After you have figured out the number of strips you need, multiply that number by 4.5 and then divide the total by 36. This will give you the total yards of fabric you need to buy to make enough ruffle yarn for your project.
(N x 4.5)/36 = Total number of yards needed
NOW – don’t let all this math freak you out! If you plug the numbers into the equations above, you’ll be just fine…and if you use one of my patterns for the Fabric Ruffle Yarn, then I will have done all the work for you. The number of strips needed for those projects will be listed at the bottom of this tutorial 🙂
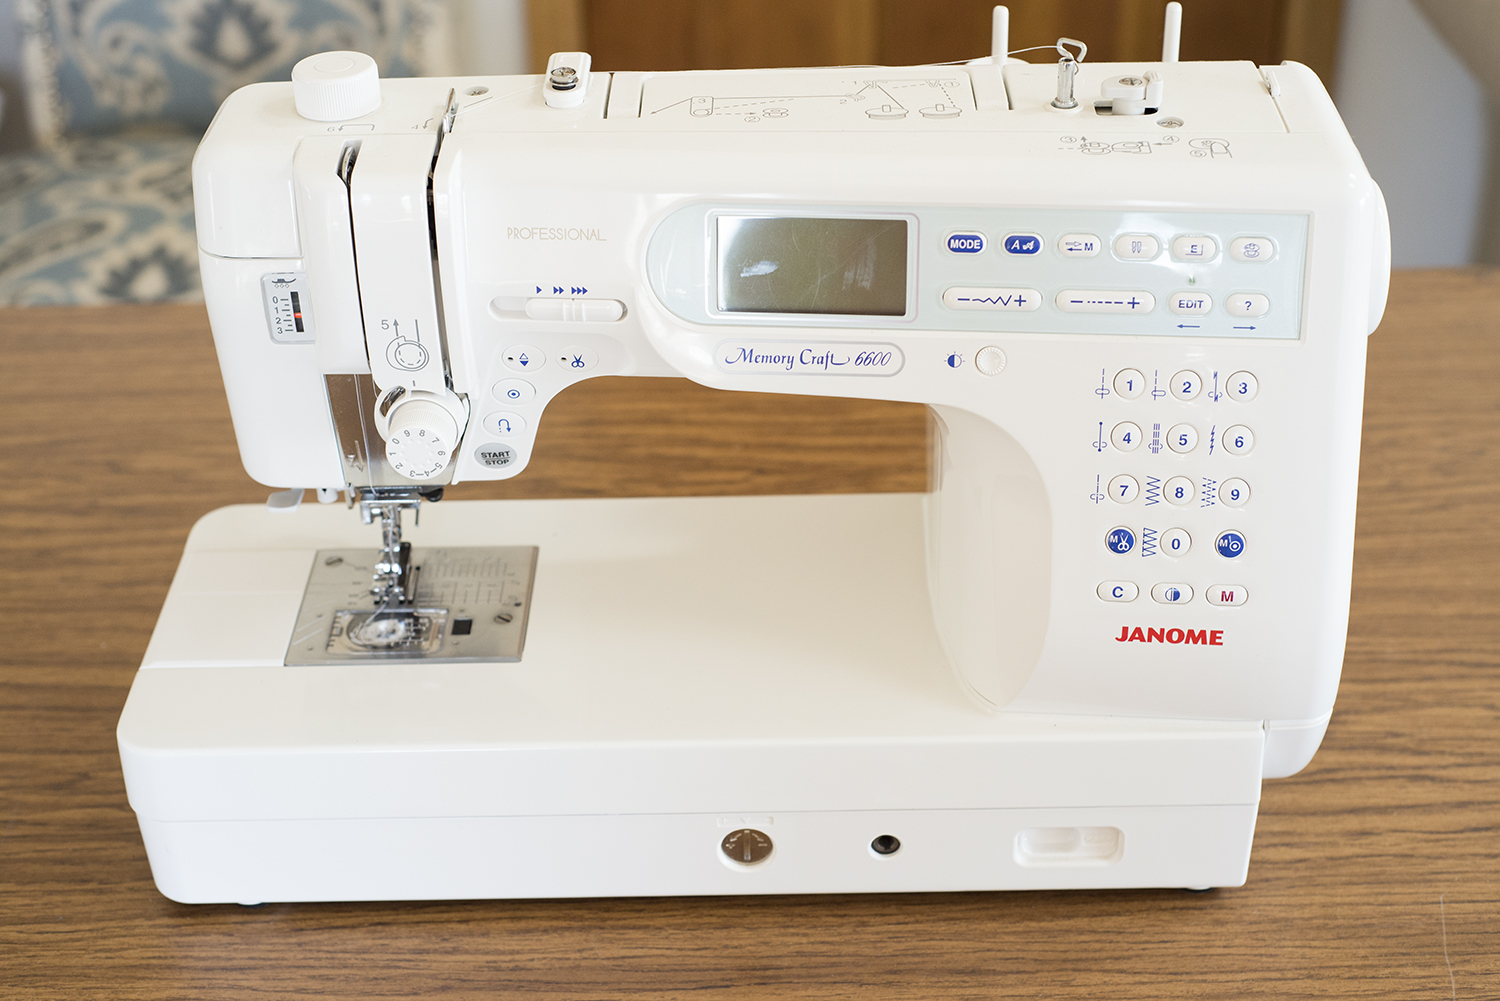
Sewing Machine
You can do this sewing by hand, but it would take some time….so I recommend using a sewing machine. Don’t worry though! We won’t be doing anything beyond straight lines here.
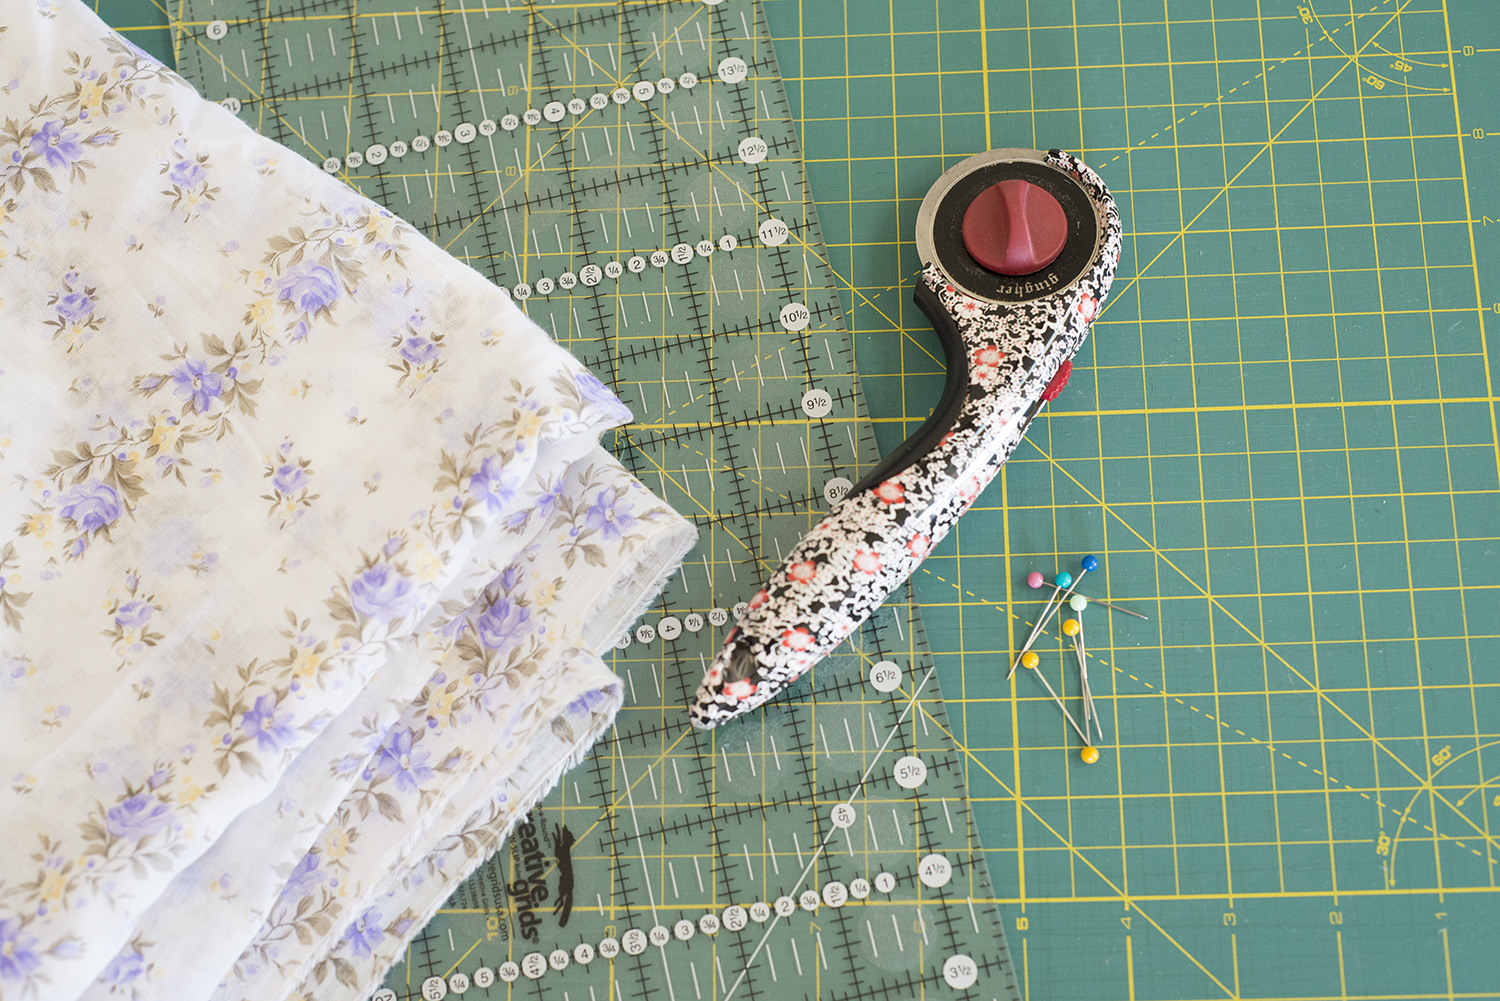
Rotary Cutter and Mat
Again – this is not entirely necessary – you can use fabric scissors if you prefer. However, a rotary cutter and mat are going to save you some of your precious time.
Pins
Not required but could be helpful!
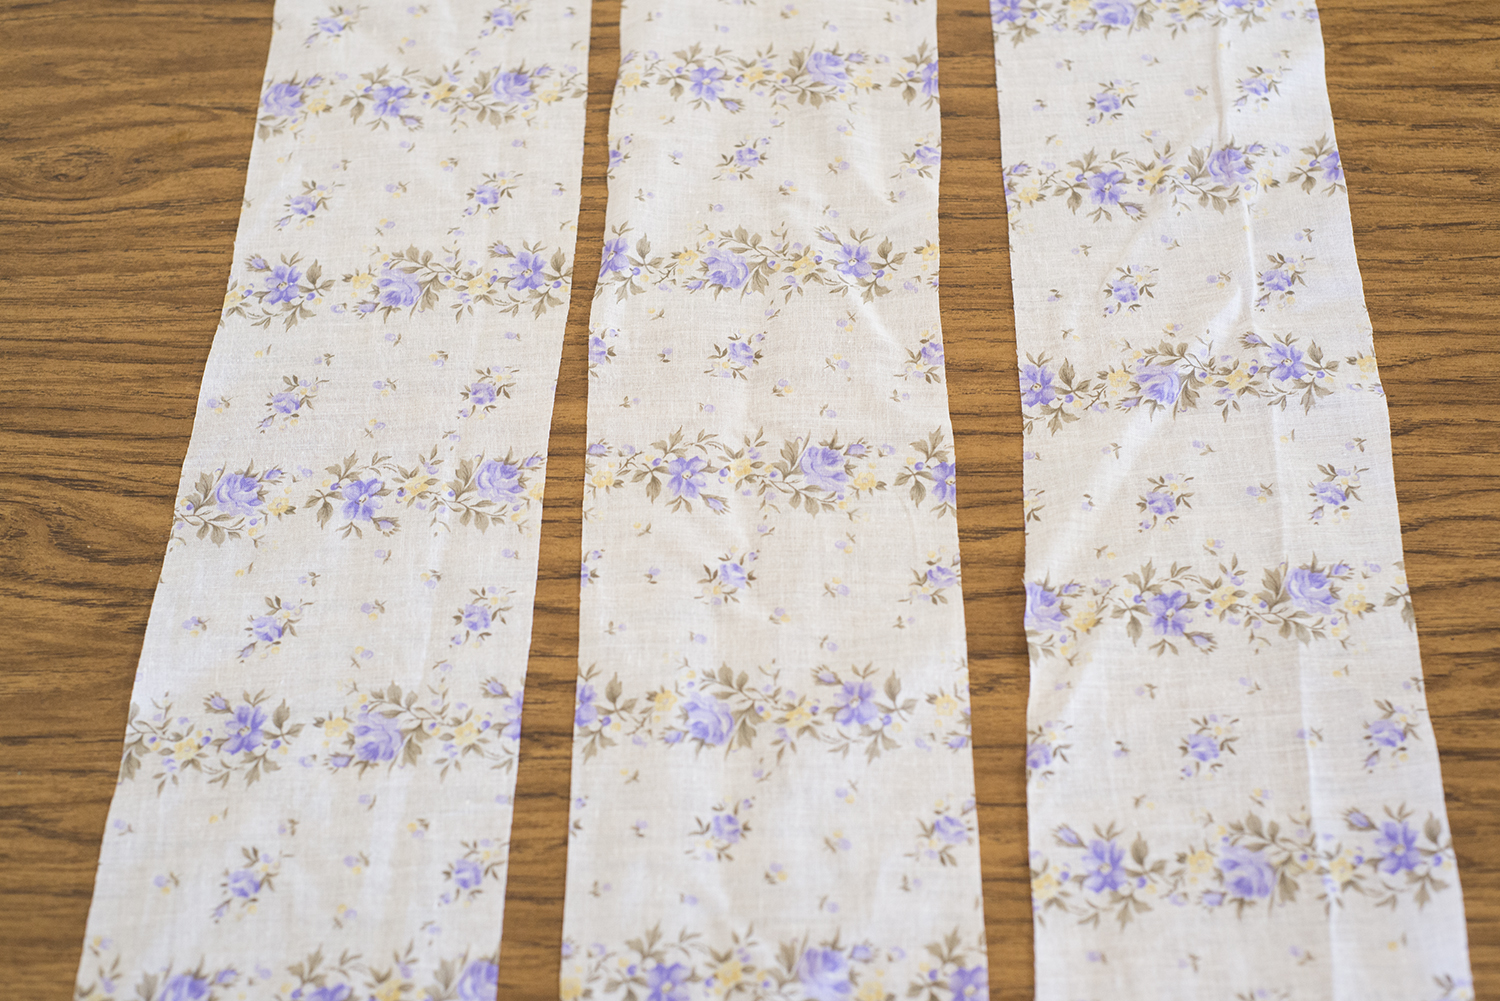
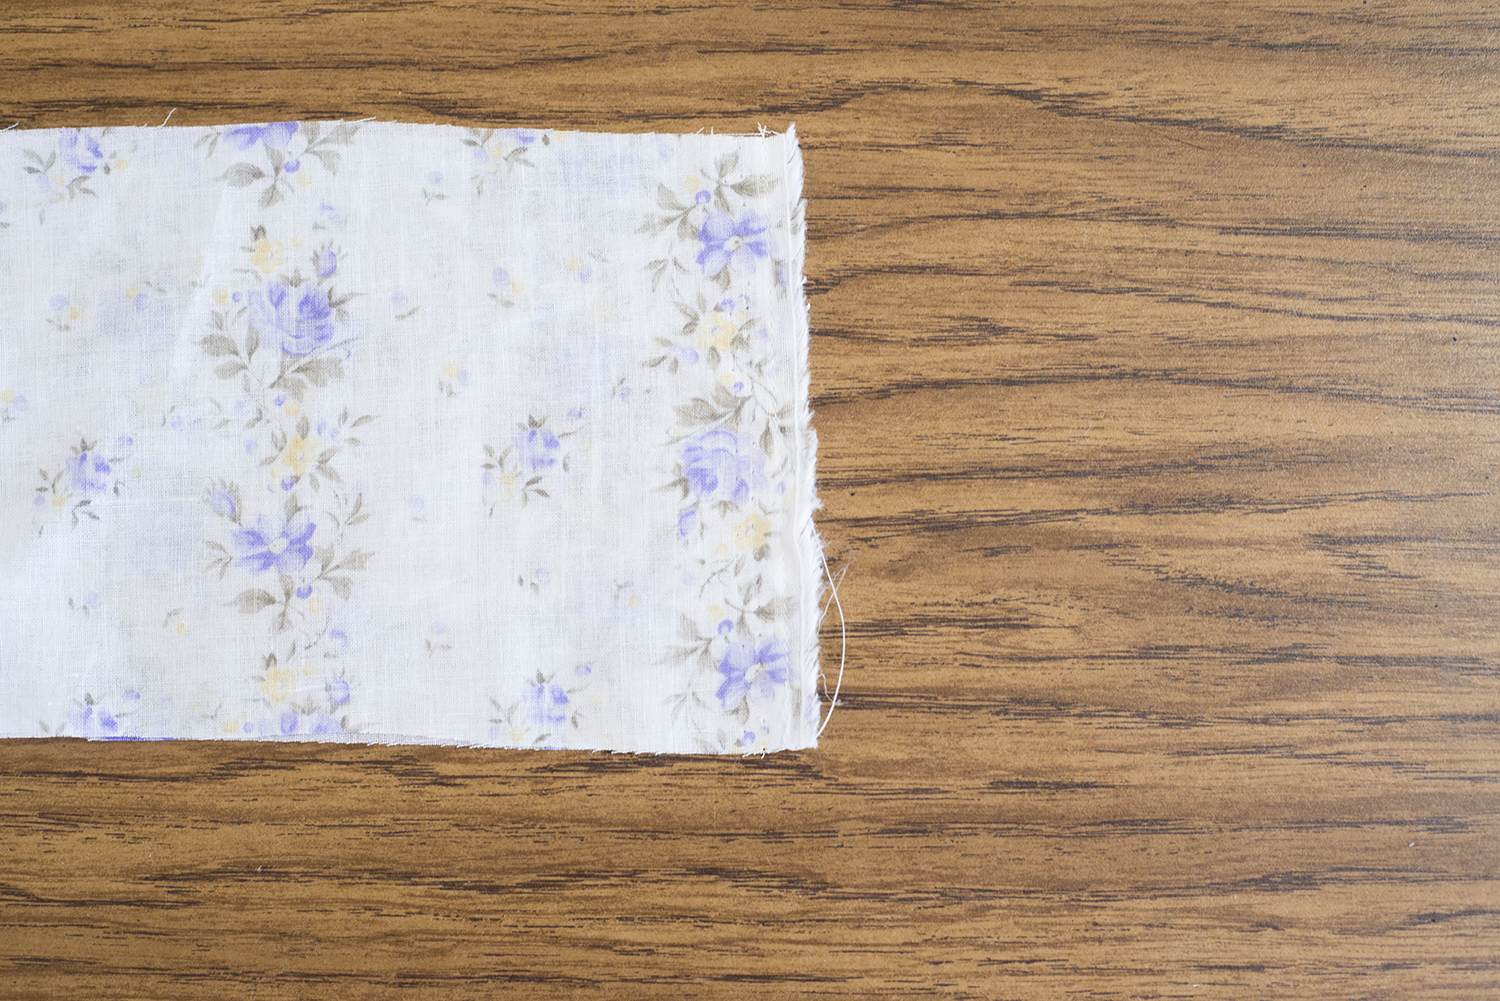
Step One:
Cut your fabric into 4.5″ (11.5cm) strips from selvage to selvage (this should give you approx. 44″ or 112cm strips)
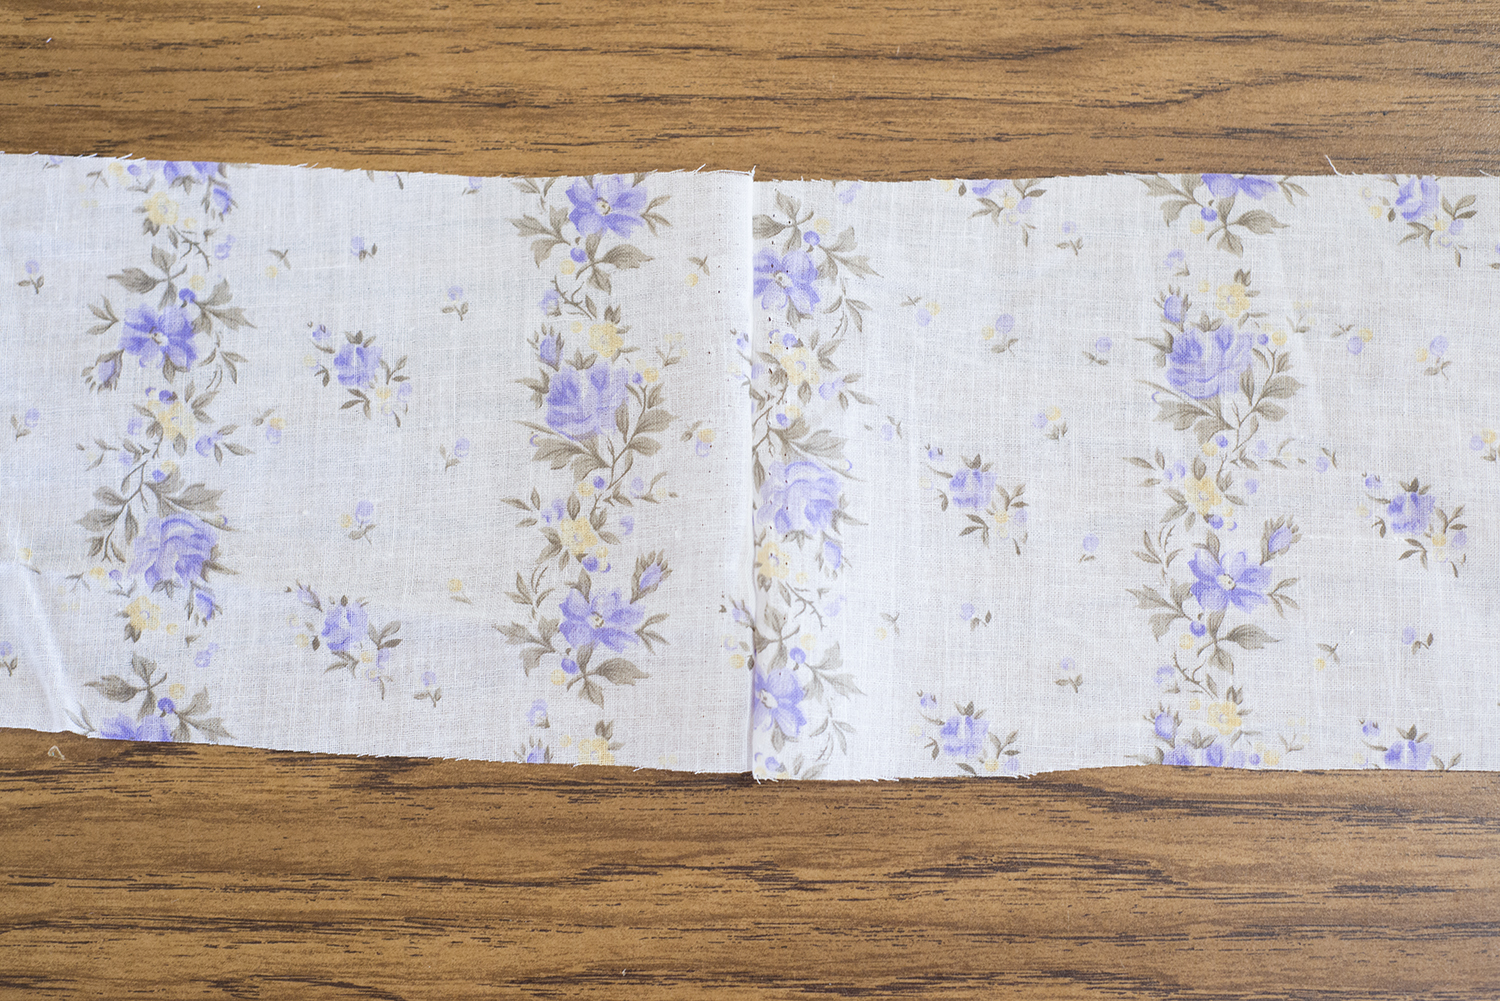
Step Two:
Sew the short sides of the strips together (make sure you have the right sides facing each other) so you end up with one super long strip.
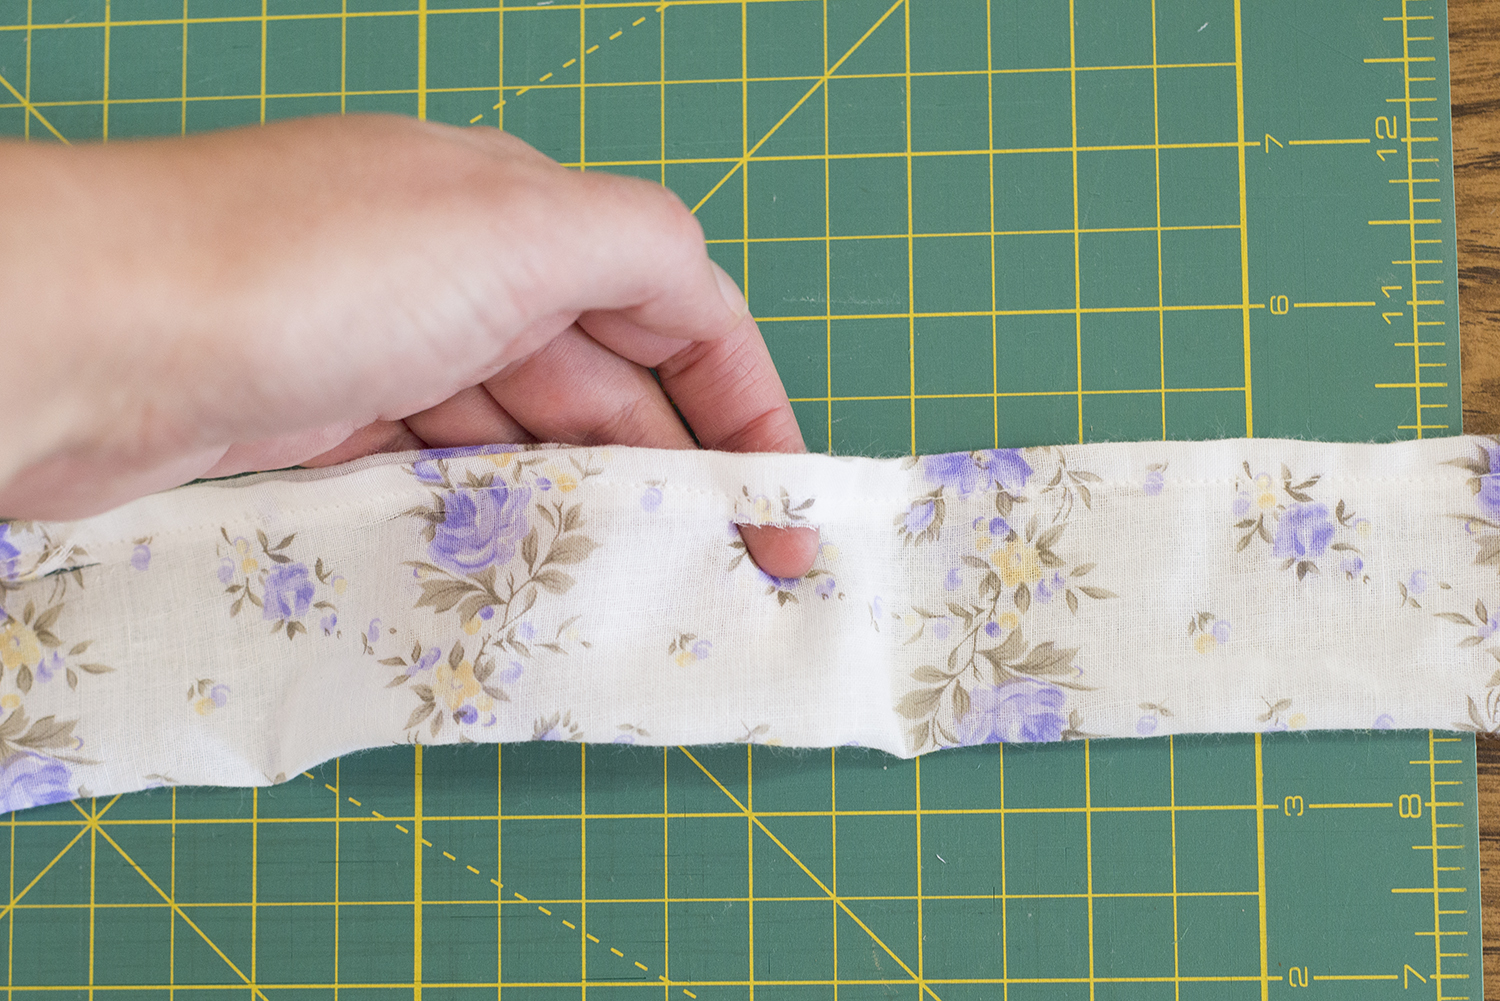
Step Three:
Fold the top and bottom of your fabric strip about .25″ (.64cm) in with the wrong sides together.
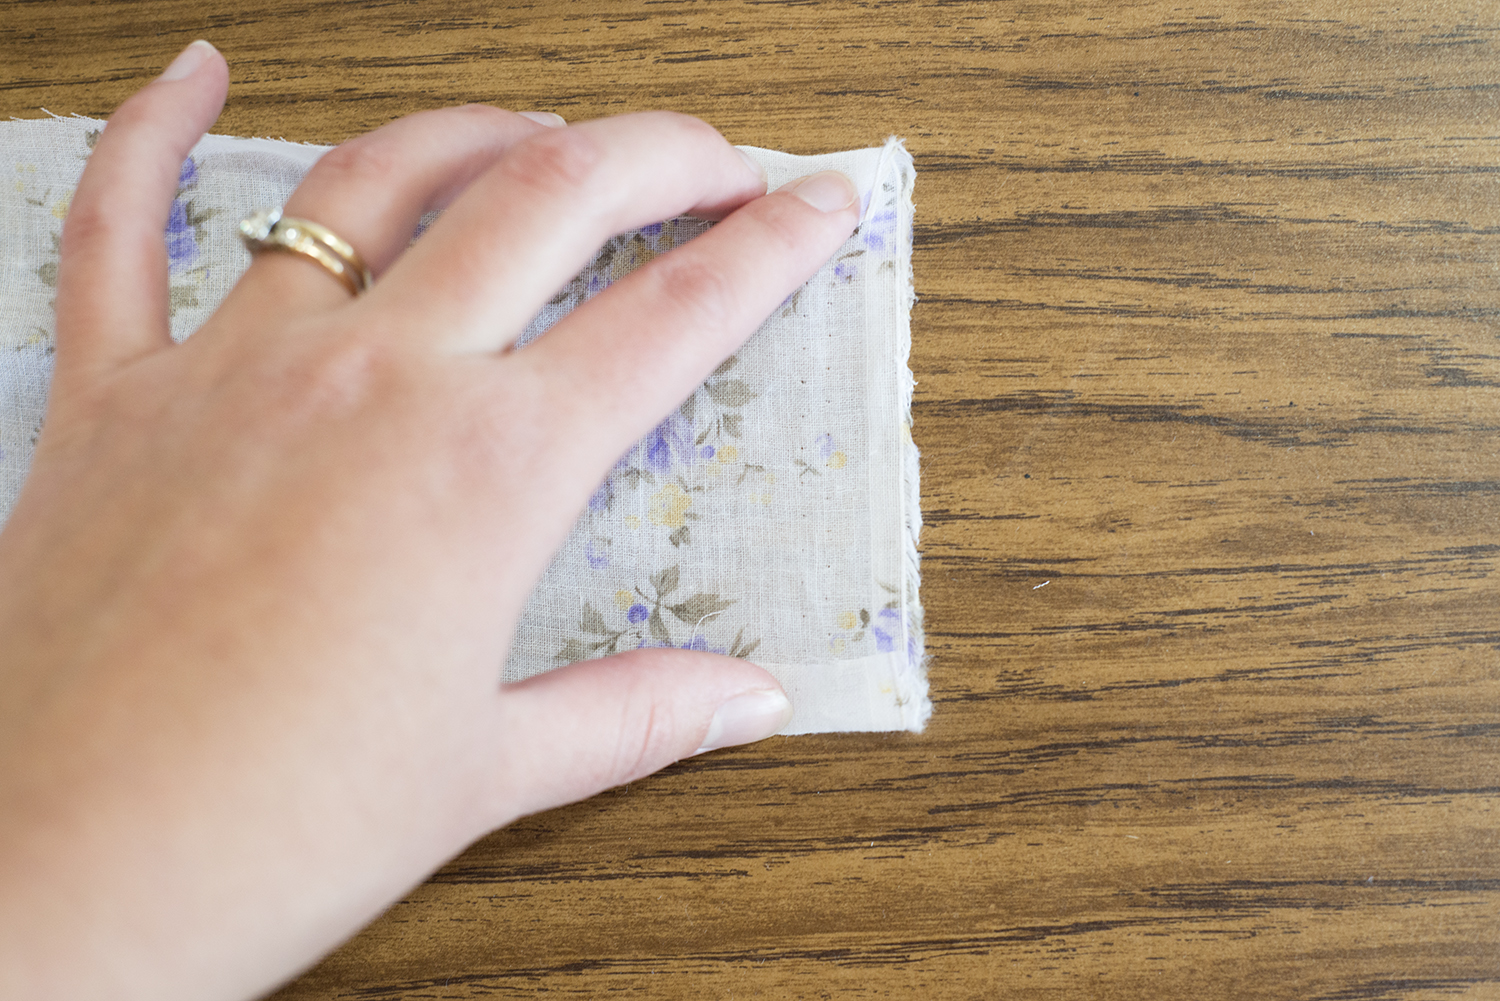
Step 4:
With the edges folded down, fold your strip (or at least the section you are working with) in half again (wrong sides together).
IF you feel the need to have this as perfect as possible, then this is where the pins might come in handy…..OR if you’re throwing out perfection like me, then you can do this as you sew.
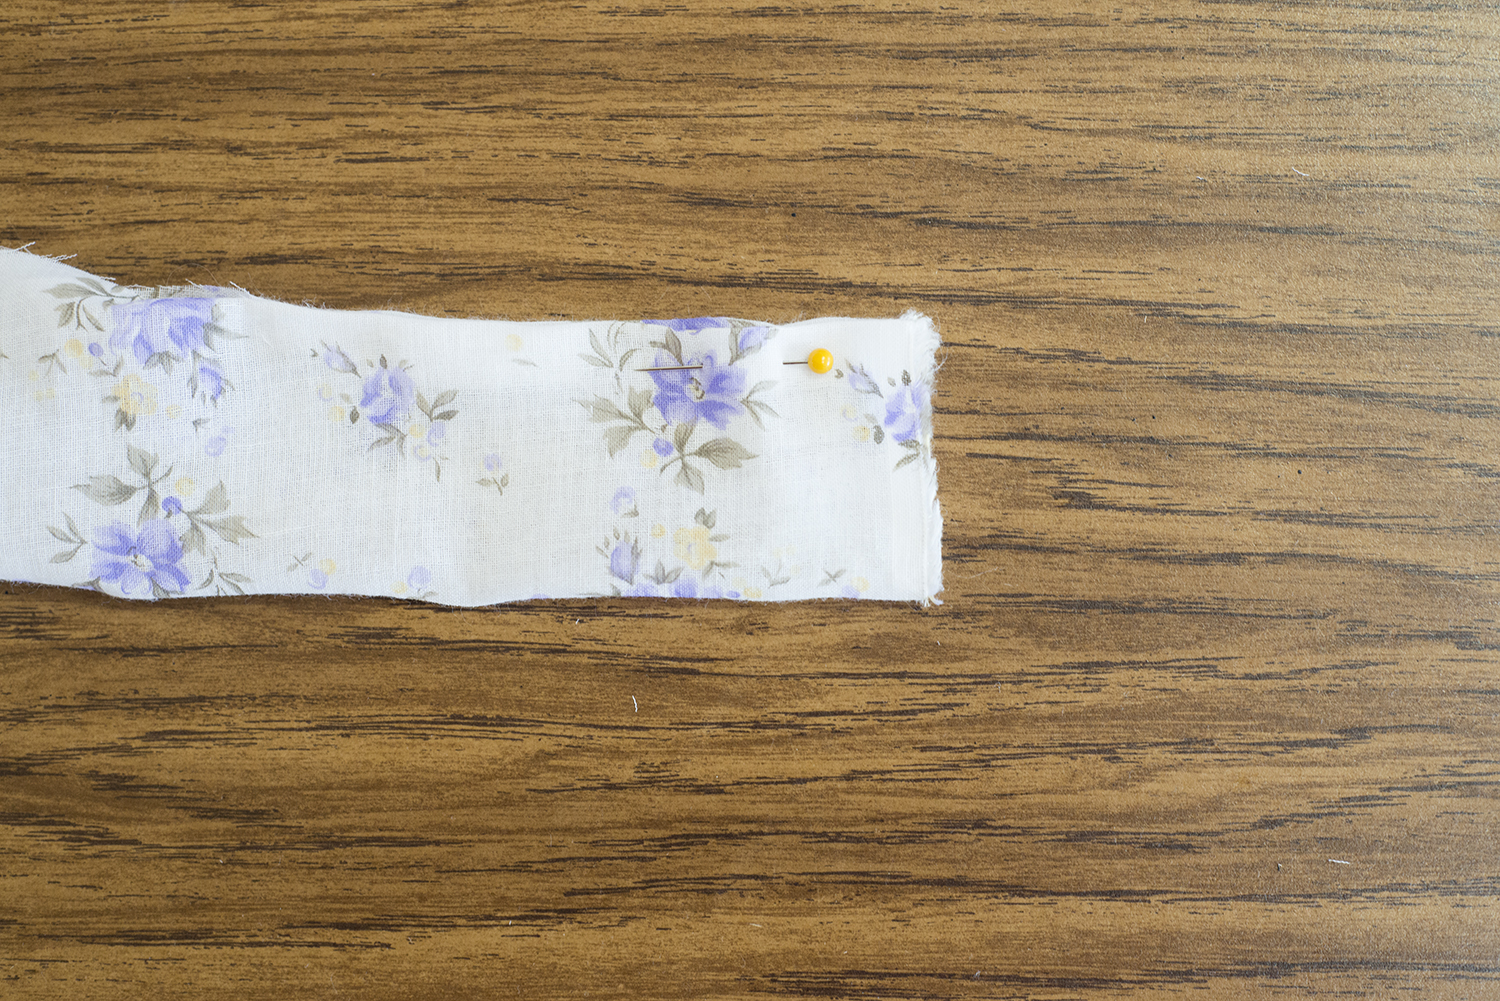
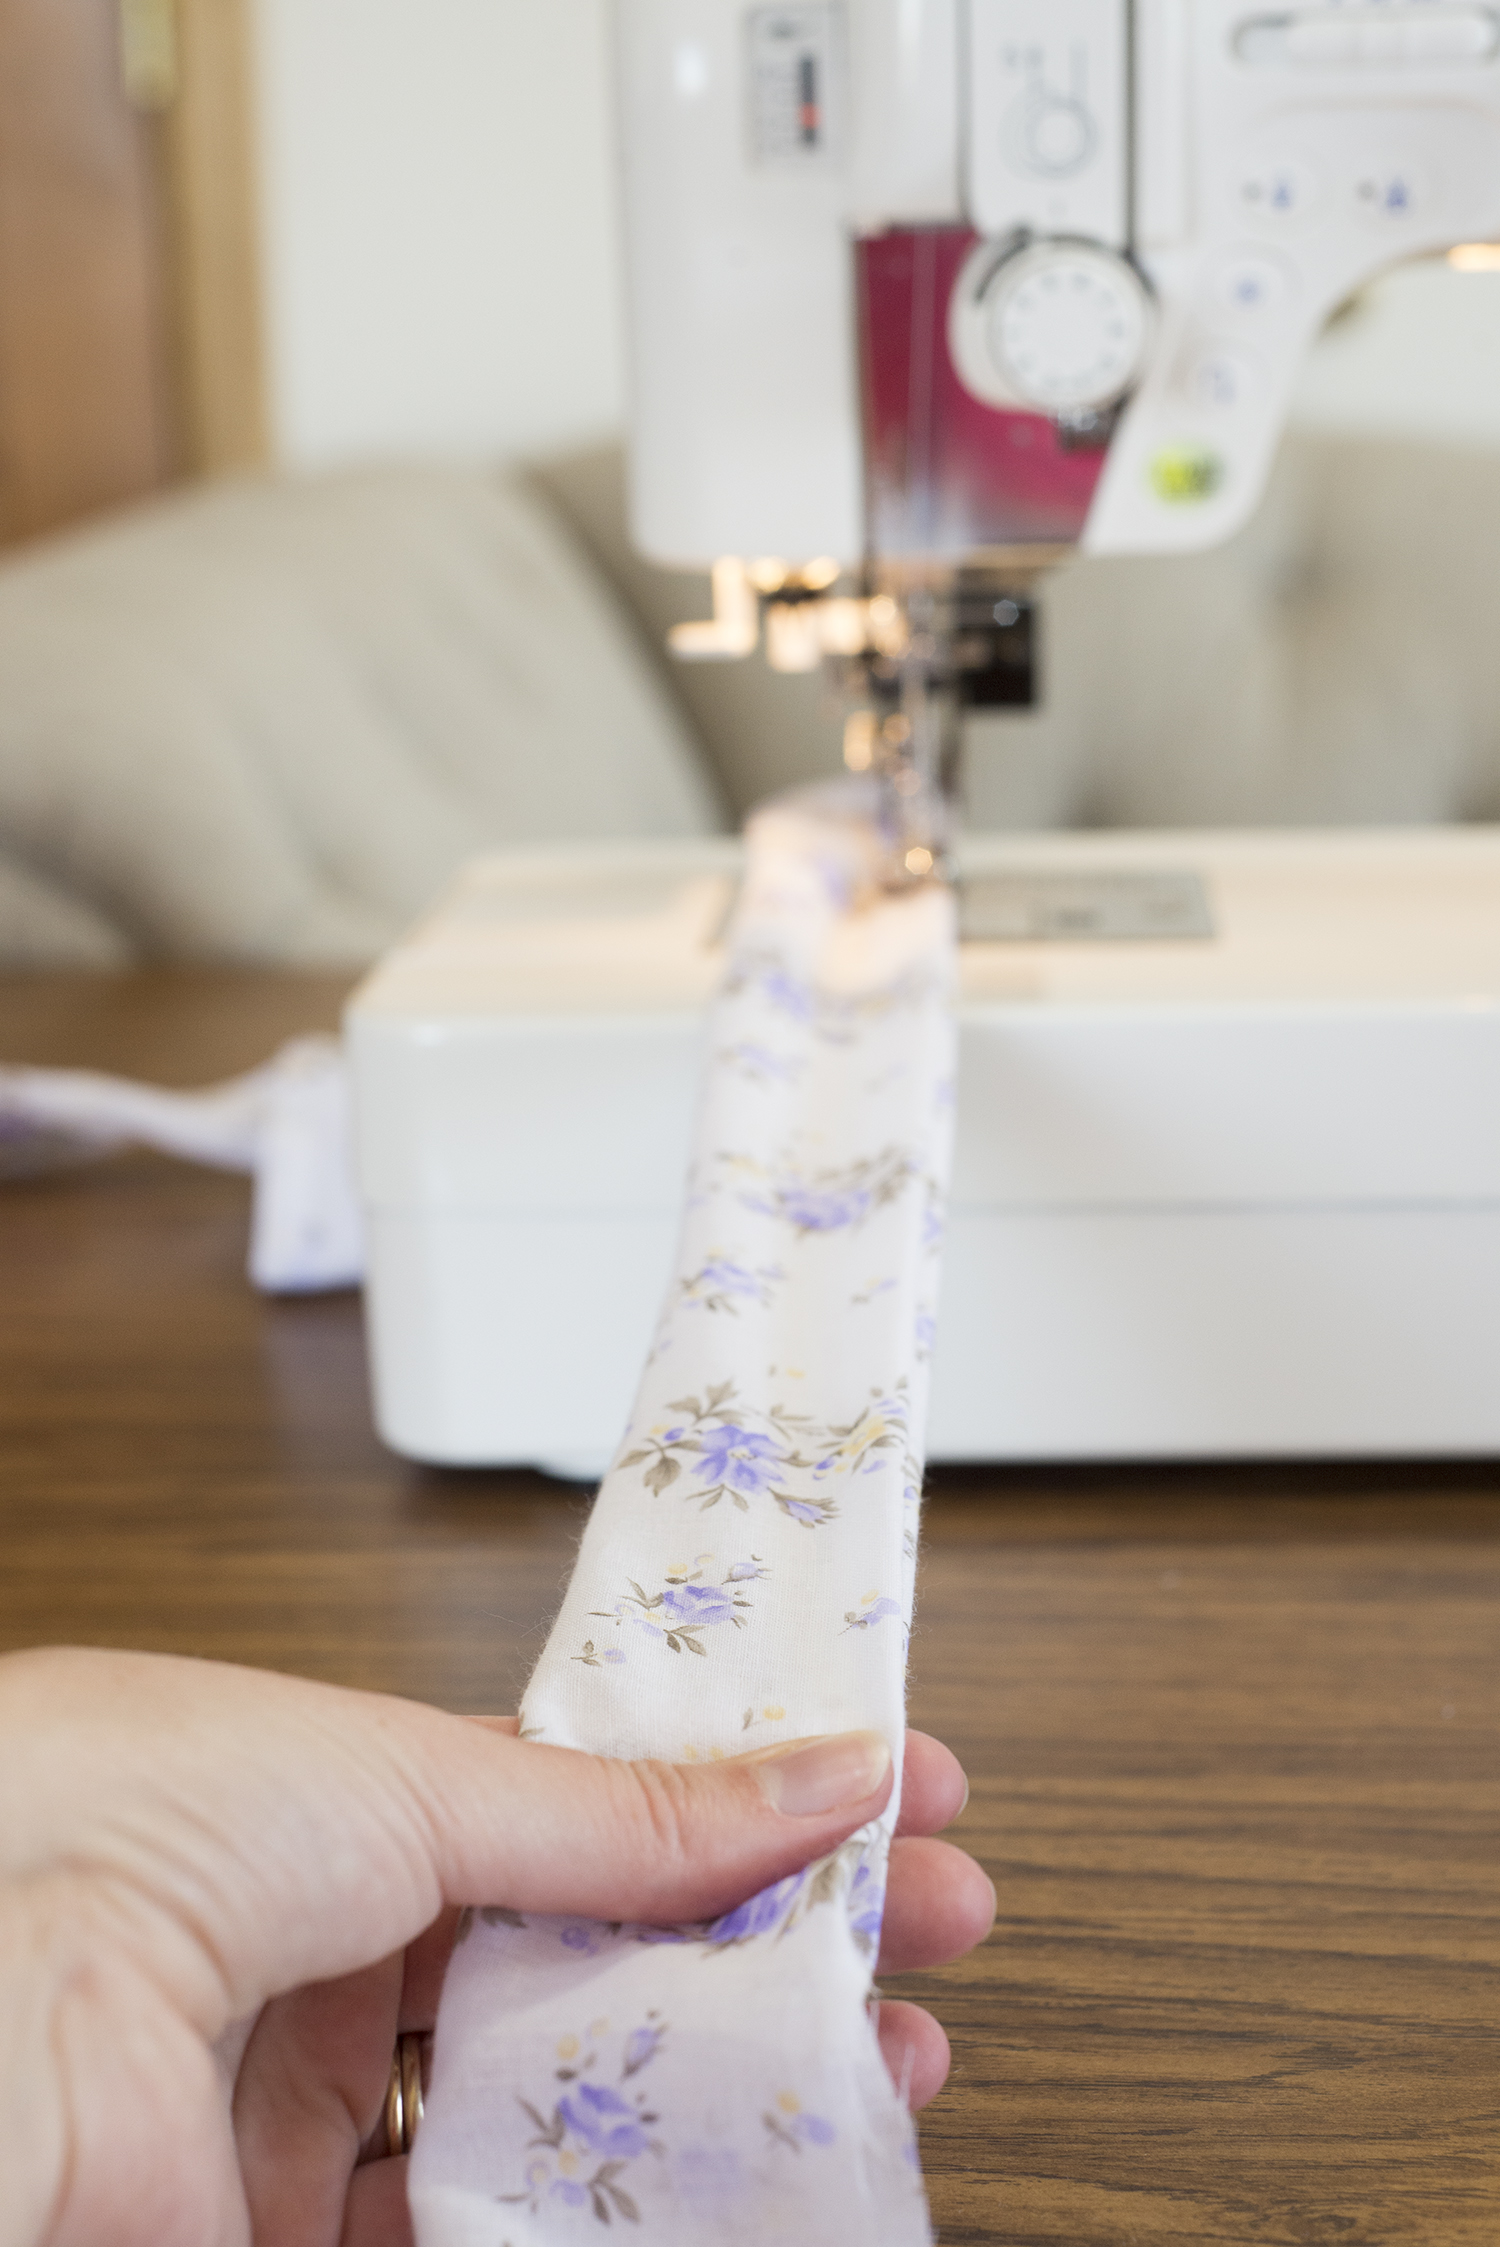
Step 5:
Sew a line over the folded down edges right along the side, all the way down your strip of ruffle yarn.
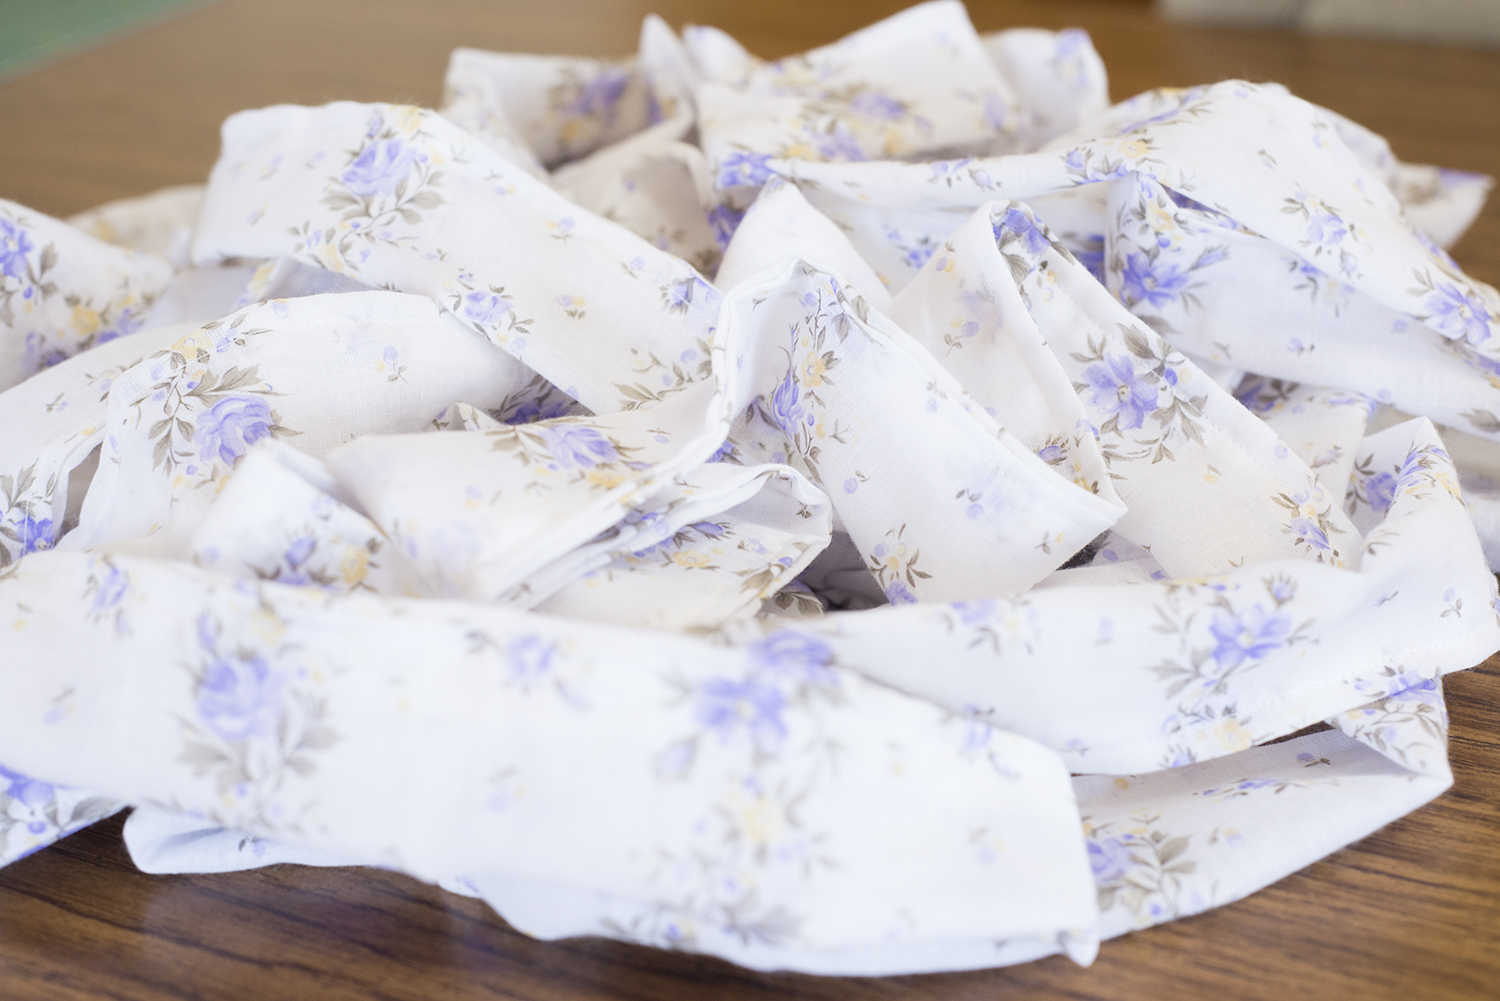
Step 6:
Celebrate being nearly done by throwing all of your beautiful yarn into the air!! Yes….I’m serious.
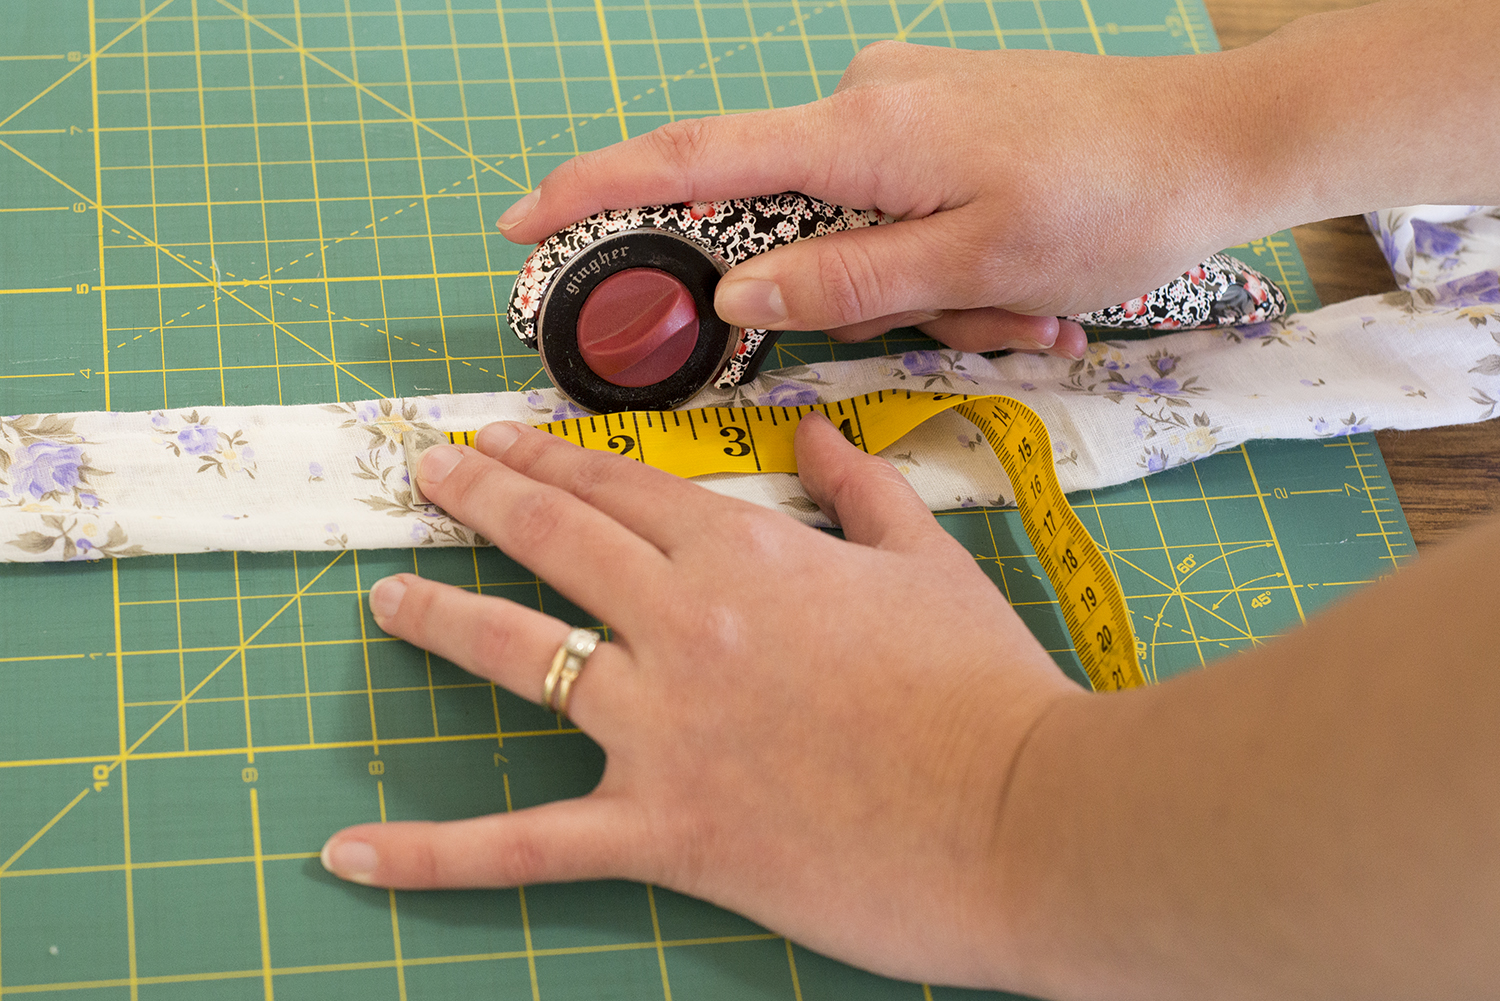
Step 7:
Add holes every 2 inches using your rotary cutter (if you have one)

Step 8:
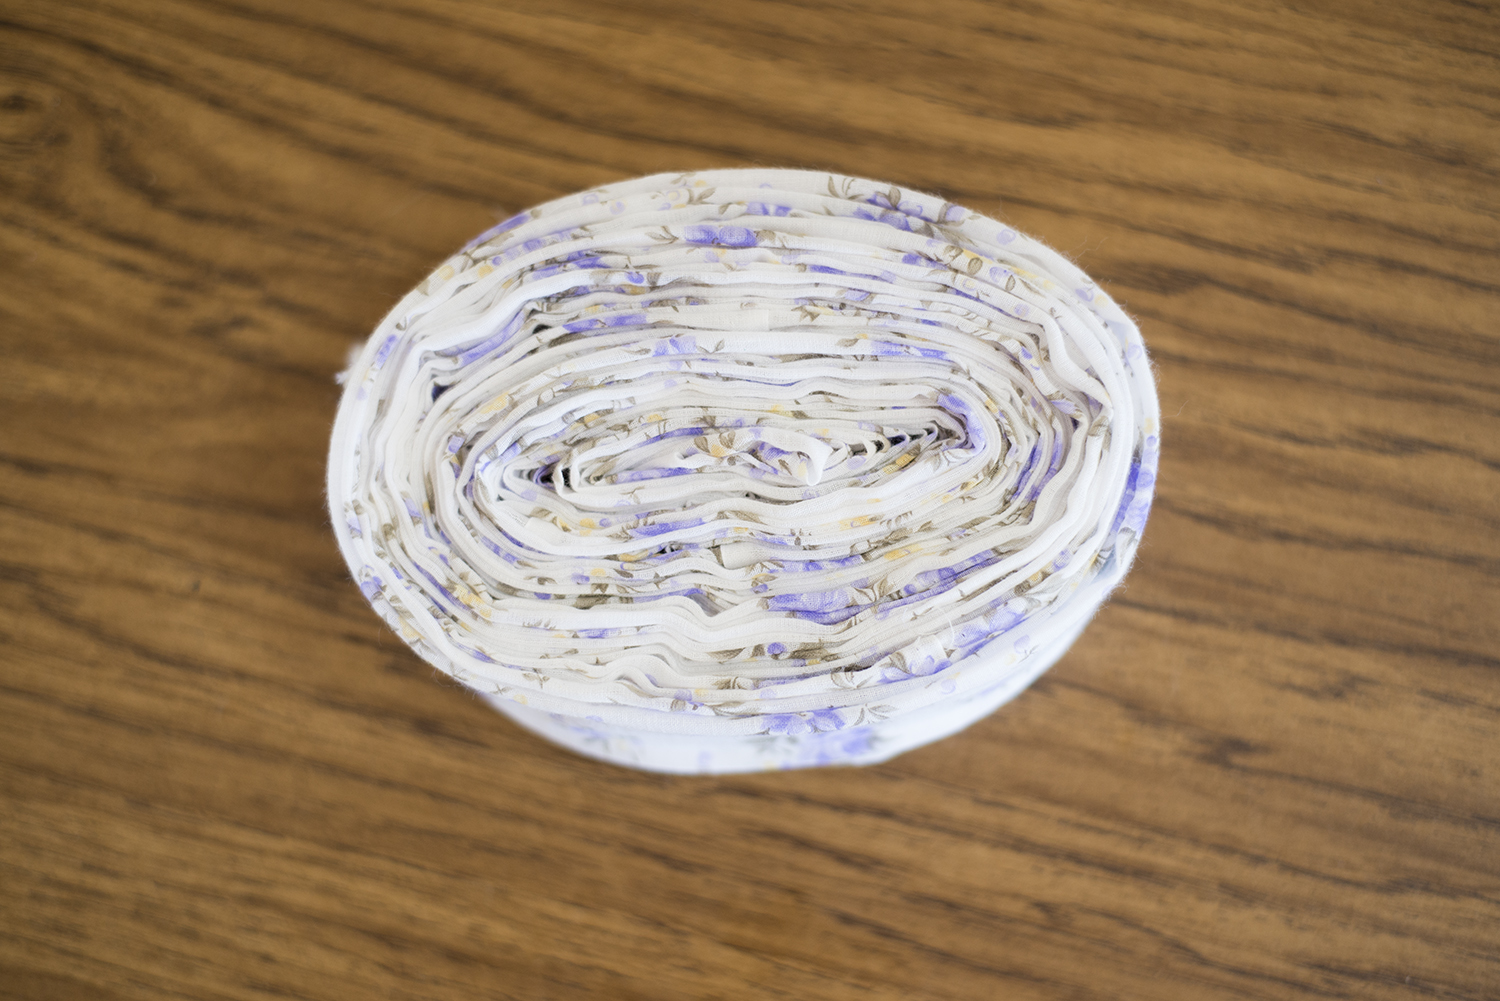
Roll it into a tidy little ball and get ready to knit or crochet!!
Step 9:
Find a super awesome project that you’re excited to make and get to work!
What does this yarn look like in action you ask!?
Here is the knit version of my Ruffle Skirt and Headband Set Knitting Pattern:
![]()
And here is the crochet version:
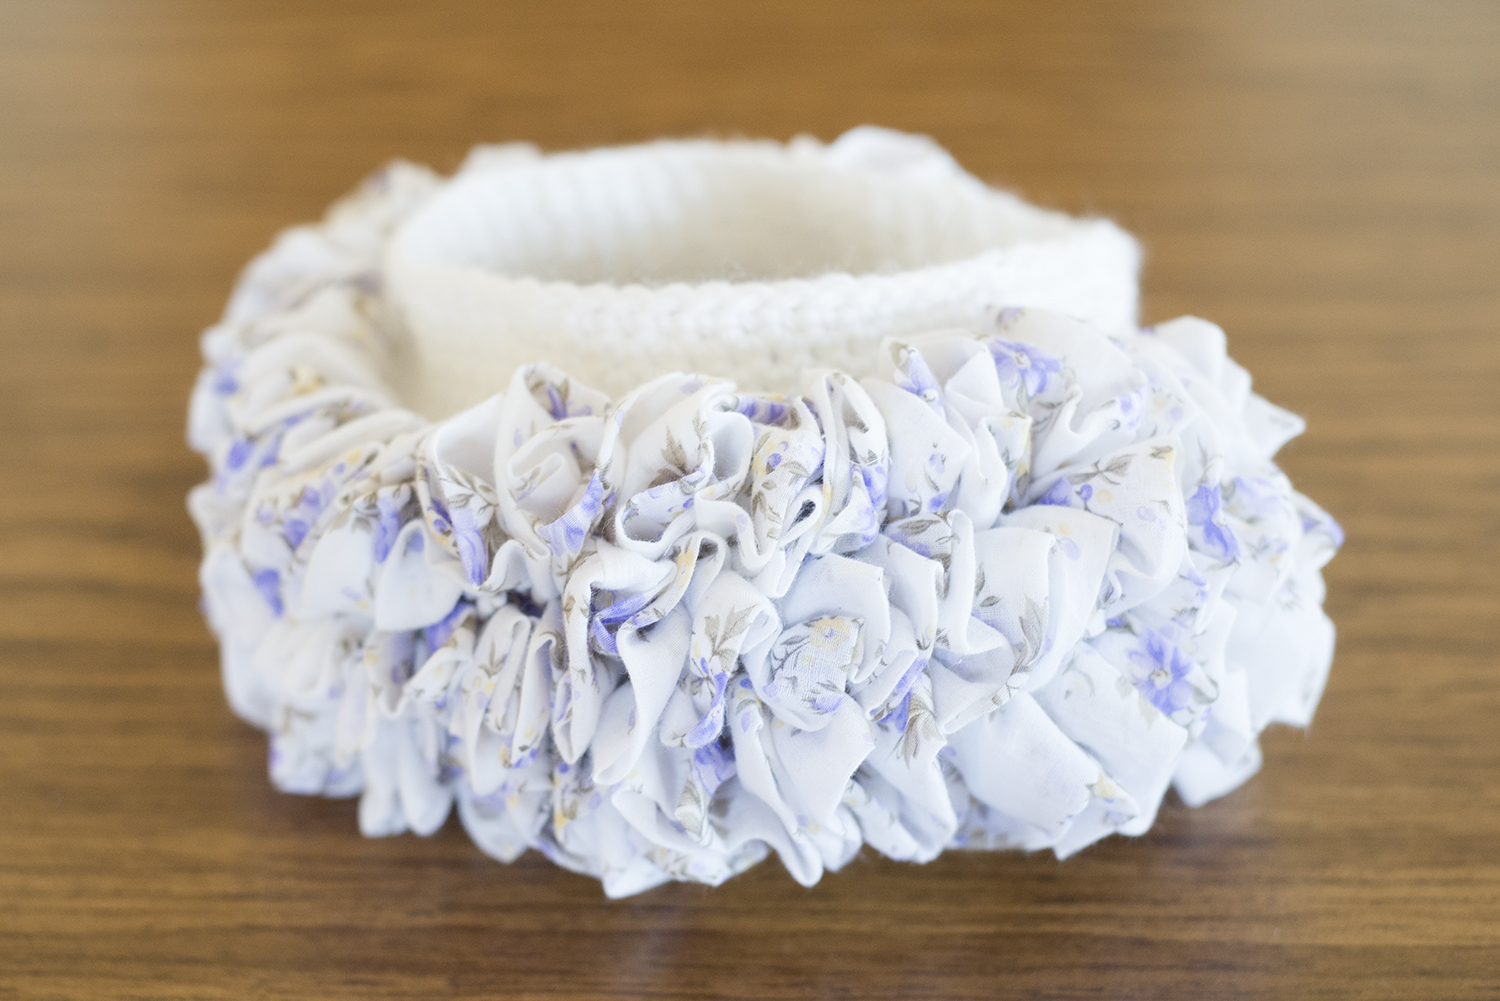
SO STINKING CUTE
is the answer to your question.
If you’d like a fun, quick pattern to try out your first batch of ruffle yarn with, then check out my brand new patterns for the Ruffle Skirt and Headband Set pictured above!
I have both a Knit Version and a Crochet Version.
The knit version requires 10 strips of fabric for the Newborn size and 35 strips for the 1-3 year size.
The crochet version requires 13 strips of fabric for the Newborn size and 45 strips for the 1-3 year size.
If you loved this tutorial, then I would LOVE it if you would leave me a comment and tell me what you plan to make using your ruffle yarn!
Also, it means the world to me when you share fun things like this with your crafty friends. Please use the social media buttons below to share with someone you think would love this!
Just too too cute.. And a great pattern to use up my repurchased ribbon yarn
So glad you like it!
Can i tell you that i am in just AWW of this… Totally ridiculously splendid…Sorry Just made that up I think.. I love this I am a crocheter and I can not wait to try this… WOW thank you for being so kind to share how to make this 1 of a kind yarn…
Yay! SO happy that you are excited about it 🙂
I am soo super excited to try this!!! Thank you so much for sharing. I haven’t looked at your patterns yet, but I think I may try the baby skirt in crochet and then try a scarf. A light summer scarf of some kind. I crochet and knit. I will be running out to buy some fabric tomorrow I’m sure… Yay! Such a great super fantastic idea btw
Yay! You are so very welcome <3
Thank you so much! I was given a huge bolt of pink cotton cloth, well over a year ago, and have been waiting for something to inspire me to put it to use. Ruffle yarn is exactly what I need to use this for. I can’t wait to get started!
Pingback: A New YARN--that YOU can make! Featuring Melody's Makings! -
So, maybe iron down 1/4 inch on each edge, then fold in half and sew on edges that are ironed? I am guessing we wouldn’t want to iron the fabric in half before sewing, because it would flatten it out and maybe not ruffle as much?? Wanting to make a ruffle for a beanie, so that it will look like a shower cap!
Yes you could definitely iron down the two edges and then sew. I only chose not to iron because of the extra work. I agree that avoiding ironing in the center would probably be a wise plan 🙂
Wow that was odd. I just wrote an extremely long comment but
after I clicked submit my comment didn’t show up. Grrrr… well I’m not writing all that over again. Anyway,
just wanted to say wonderful blog!
Thanks Hildred! That is odd….sorry about the comment eating computer bugs, haha.
I absolutely adore this pattern. My cousin is getting ready to have a baby girl and I MUST make this for her. However, I’m not that great at sewing and would love to find the “ruffle yarn” pre-made somewhere. Any ideas where to look??
Hi Rachael! I’ve seen the fabric ruffle yarn carried in some Local Yarn Stores, and some of the more “box” type stores (like Hobby Lobby, Joann’s, etc. are even starting to carry it occasionally). You can also use any of the normal ruffle yarns in place of the fabric stuff though. Red Heart has a couple different types.
Hi Melody, loved the tutorial on YouTube but when I come here there are no pictures. I’d love to see your patterns, do you have any now? My great granddaughter is going to be 2 in Feb and this could be such a cute gift for her if you have any patterns. Thanks a bunch. Judy
Hey Judy! Thanks for reminding me about this post! My site had some issues during a host transfer this past summer and many of the blog posts needed fixed so the photos would show. I just went through and fixed this one today, so you should be able to see everything plus the links to the patterns now 🙂
Thank you so much for doing this and such a fast response too. I just love this pattern. I don’t know whether to get the crochet or knit version 🙂 I’ll have to get one of them for sure though.
You’re very welcome! I’m so glad you reminded me about it 🙂
Thanks for the tutorial. I have a great granddaughter that at 18 months wears 24 months size — she is a chubby bundle of joy. I think I will
make the skirt in a size 3 in red for Christmas. Both skirts look so cute.
I just strip the cotton by tearing it in strips and tie in a knot to fasten together. Rag rug look but cute!
I’ve been a subscriber to your newsletter for a while now. And when I saw the cutest project that needed ruffle yarn I remembered you had a tutorial and here it is. Thank you so much for sharing!